

Table of Contents
Introduction
This blog post offers a comprehensive, step-by-step tutorial on setting up and managing user accounts in Kerio Connect. Whether you’re a novice or an experienced administrator, this guide will provide you with the necessary knowledge to handle user accounts proficiently.
Kerio Connect is a robust and versatile email and messaging server that offers a wide range of features to facilitate seamless communication within organizations. One of the critical aspects of operating Kerio Connect is effective user account management. Proper user account setup ensures secure, efficient access to email and collaboration tools, enhancing productivity and maintaining organizational security.
Prerequisites
Before diving into user account management, ensure you have the following:
- Kerio Connect installed on your server. If not, refer to the official installation guide.
- Administrative access to the Kerio Connect server.
- Access to the Kerio Connect administration interface via a web browser.
Accessing the Kerio Connect Administration Interface
Open your web browser.
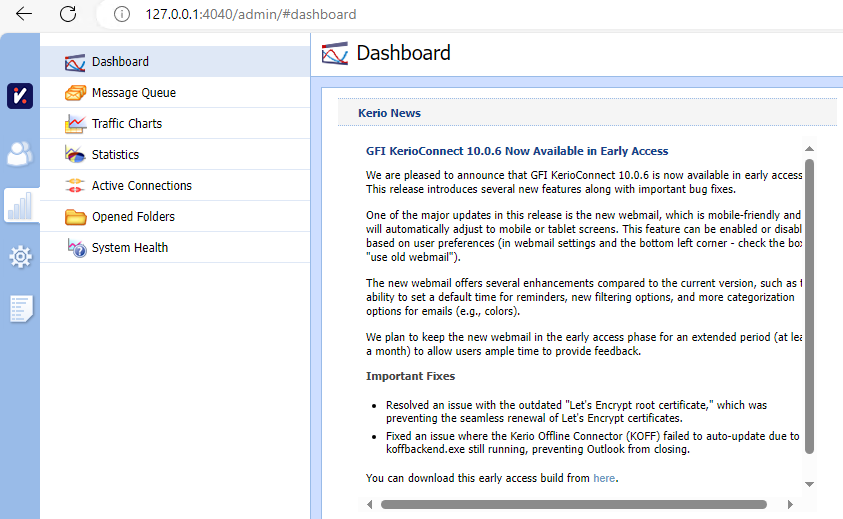
Navigate to the Kerio Connect administration interface by entering the following URL: https://<server-ip-or-hostname>:4040/admin.
Log in using your administrative credentials. This will take you to the main dashboard, where you can manage various aspects of Kerio Connect.
Creating New User Accounts
Directly in the Kerio Connect Interface
Navigate to the Users Section:
- In the administration interface, go to Accounts > Users.
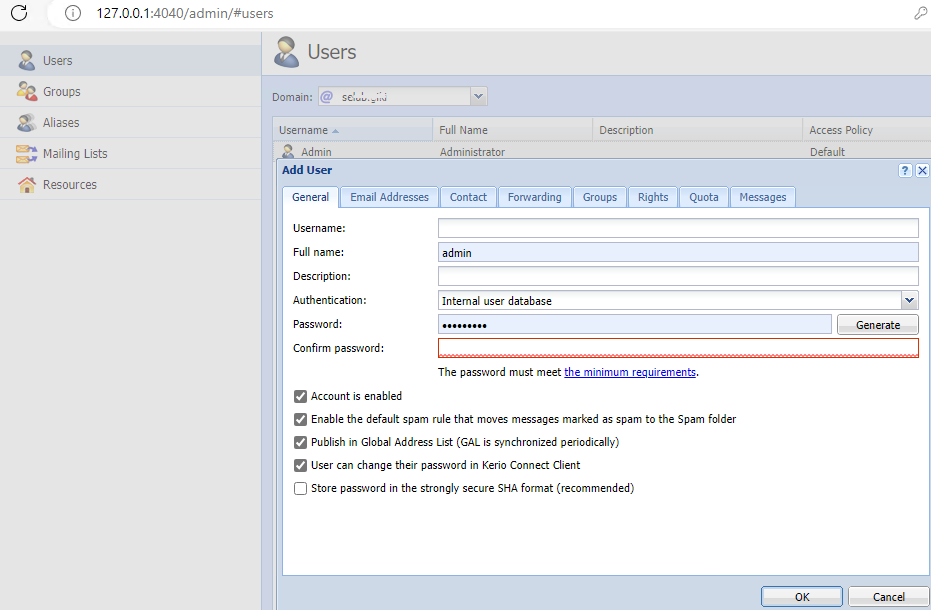
Add a New User:
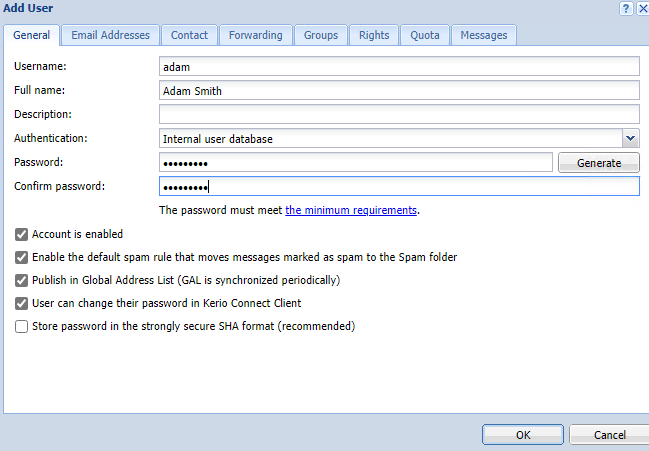
Click on the New button. Fill in the user’s details, including the username, full name password and confirm password.
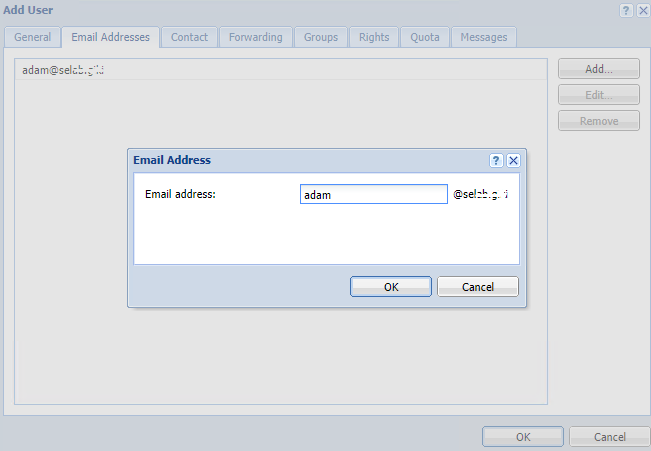
In the Email Address tab type email address. We just created a username of Adam, so will create email address adam@domain.com
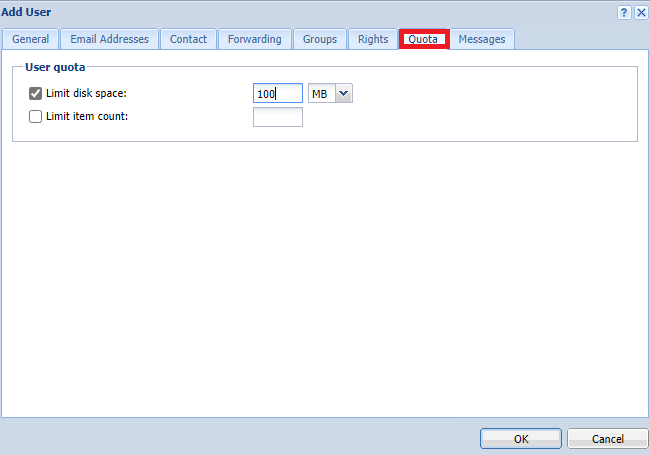
Configure User’s Mailbox Settings:
Set the mailbox quota and permissions as required. You can change settings according to your organization policies.
Click on Quota tab to set quota for each user account. We set the quota to 100MB for our setup.
Save the User:
Click Create to save the new user account. Click on the Users on the left navigational menu to see new users has created.

Integrating with Directory Services (e.g., Active Directory)
- Navigate to the Directory Service Settings:
- Go to Configuration > Domains.
- Select your domain and go to the Directory Service tab.

- Enable Directory Service Integration:
- Check the option to Map user accounts and groups from a directory service to this domain.
- Select the type of directory service (e.g., Active Directory).
- Configure Connection Settings:
- Specify the connection details for your directory service, such as the server address, credentials, and base DN.
- Map the necessary attributes to match your directory service schema.
- Import Users:
- Once connected, you can import users from the directory service directly into Kerio Connect.

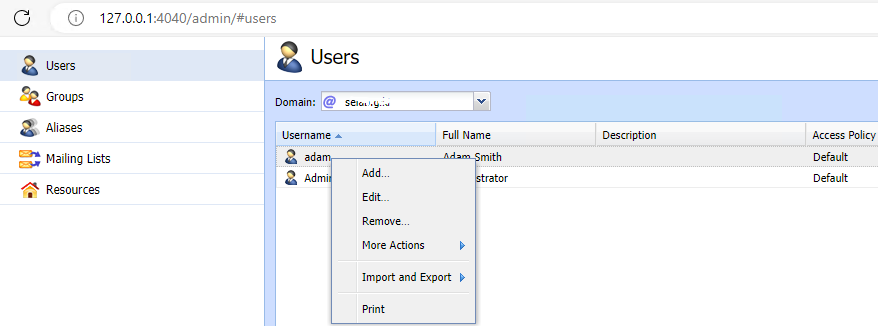
Managing Existing User Accounts
Editing User Details
- Navigate to the Users Section:
- In the administration interface, go to Accounts > Users.
- Edit User Details:
- Select the user you want to edit and click on the Edit button.
- Modify the user’s details as needed, such as resetting the password, updating contact information, or changing mailbox settings.
- Save Changes:
- Click Save to apply the changes.
Deleting User Accounts
- Navigate to the Users Section:
- In the administration interface, go to Accounts > Users.
- Delete a User:
- Select the user you want to delete and click the Delete button.Confirm the deletion when prompted.
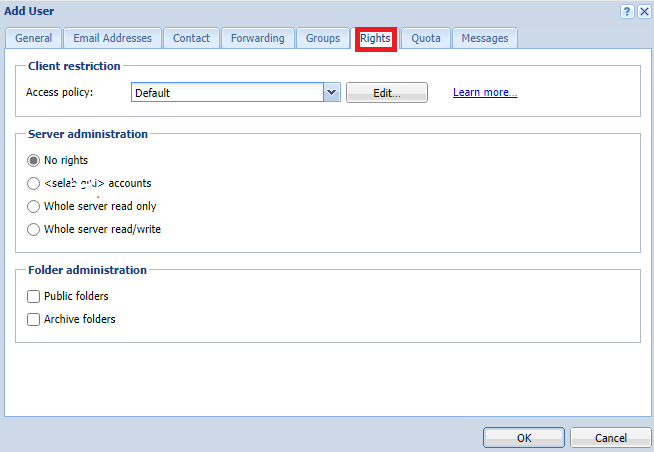
Configuring User Permissions and Access Rights
Navigate to the Users Section:
- In the administration interface, go to Accounts > Users.
Edit Permissions:
Select the user and click on the Edit button.
Go to the Permissions tab and adjust the user’s permissions, such as access to specific mail services, admin rights, and more.
Save Changes: Click Save to apply the updated permissions.
Conclusion
Setting up and managing user accounts in Kerio Connect is vital for ensuring secure and efficient communication within your organization. By following this comprehensive guide, you can create, manage, and secure user accounts effectively, enhancing your organization’s productivity and maintaining robust security.
For more detailed information, refer to the official Kerio Connect documentation

[…] In the next section we will learn how to Set Up and Manage User Accounts in Kerio Connect […]