

Table of Contents
Introduction to Kerio Connect
Kerio Connect is a robust email and collaboration platform designed to meet the needs of small to medium-sized businesses. It offers a comprehensive suite of features, including email, calendaring, contacts, tasks, and instant messaging, all integrated into a single solution. Kerio Connect is known for its ease of use, strong security features, and flexibility, making it a popular choice for organizations looking to manage communication and collaboration efficiently.
Key Features and Benefits
- Email: Reliable email services with anti-spam and anti-virus protection.
- Calendaring: Shared calendars for scheduling and managing events.
- Contacts: Centralized contact management with easy access.
- Tasks: Task management and delegation for improved productivity.
- Instant Messaging: Real-time communication within the organization.
- Security: Robust security features, including SSL/TLS encryption and two-factor authentication.
- Cross-Platform Support: Available on Windows, macOS, Linux, and virtual environments.
Kerio Connect Installation on Windows Server 2022
Installing Kerio Connect on Windows Server 2022 is straightforward. Follow the steps below for a successful installation. For this tutorial we have installed Microsoft Windows Server 2022.
Step-by-Step Tutorial
Prerequisites:
- Ensure your system meets the minimum requirements for Kerio Connect.
- Download the latest Kerio Connect installation package from the official website.
Installation Process:
- Download the Installer:
- Visit the Kerio Connect download page and download the Windows installation package. Click here to start download from this link.
- Run the Installer:
- Locate the downloaded file and double-click it to start the installation.
- Select the language and click OK.

- Begin the Installation:
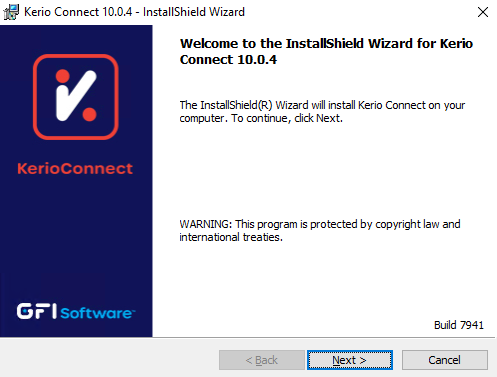
- Click Next on the welcome screen.
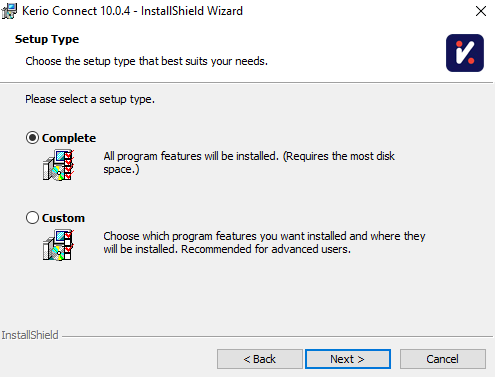
- Select Setup Type:
- Choose the setup type (e.g., Typical or Custom) and click Next.
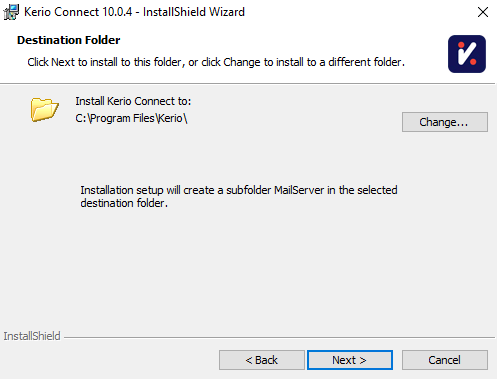
- Specify Destination Folder:
- Choose the installation directory or accept the default path, then click Next.
- Configuration Settings:
- If a previous Kerio Connect installation is detected, choose to either keep or replace the configuration, then click Next.
- Install Kerio Connect:
- Click Install to begin the installation process.
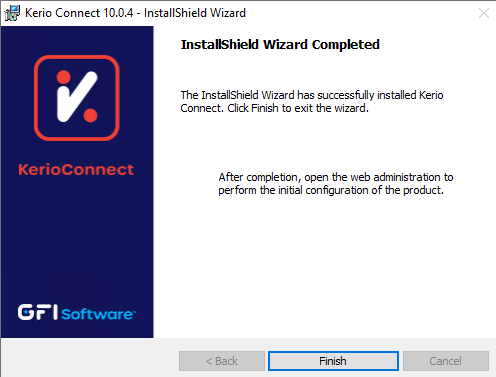
- Finish Installation:
- Once the installation is complete, click Finish on the InstallShield Wizard Completed screen.
Kerio Connect Configuration and Administration
Initial Configuration:
Accessing the Administration Console:
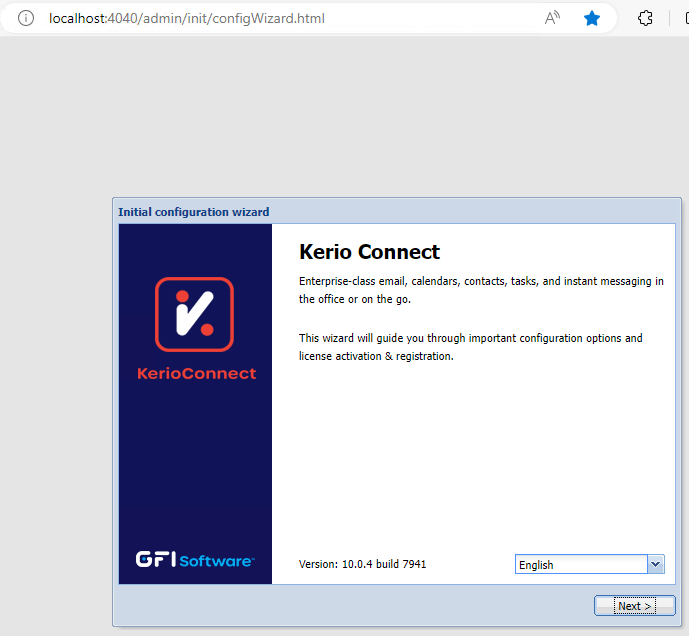
- Open a web browser and navigate to the Kerio Connect administration interface (e.g.,
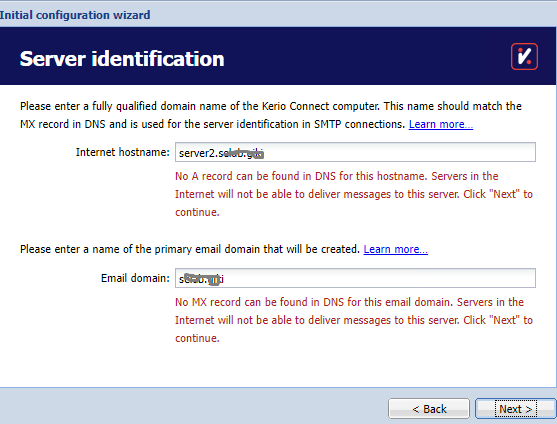
https://yourserver:4040/admin). In our case we access it via localhost along with port number which is 4040. Accept the license agreement and click Next. One important thing you will do here is to add a MX (mail exchange record) in your DNS entries. - Log in with the administrator credentials.
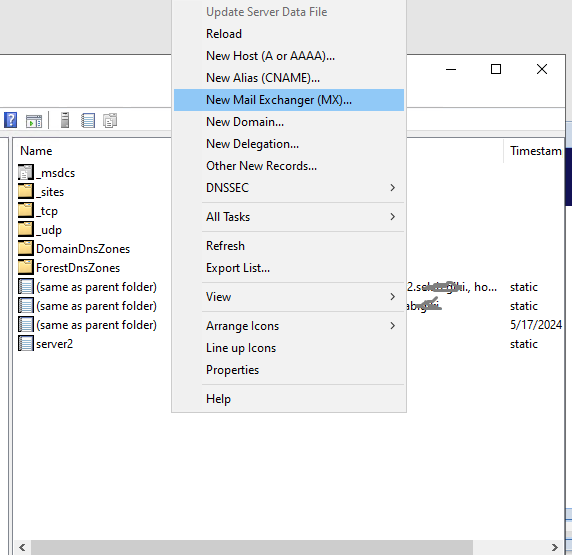
Without MX (mail exchange) record you will see error in the blow picture. To resolve this issue, go the DNS Manager. Click Forward lookup zone.
Right click and select MX record. Create a MX record. Type your host name
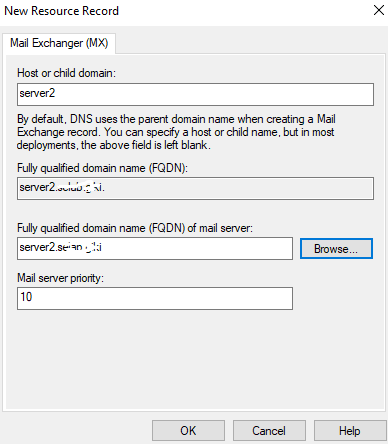
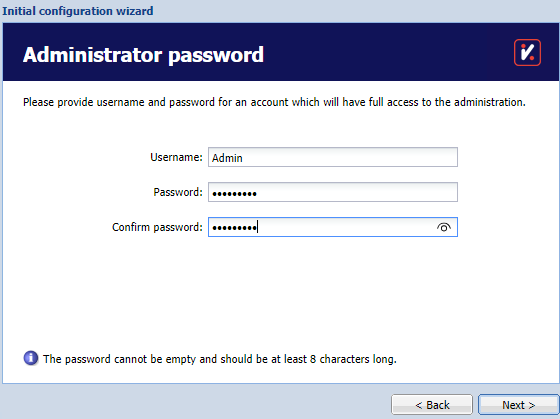
A new MX record has been created for this setup. Now click Next. Type the admin password and click next.
- Setting Up Email Accounts:
- Navigate to the Users section and create new user accounts.
- Configure email addresses, passwords, and other user settings.
- Managing Users:
- Organize users into groups for easier management.
- Set up user permissions and access controls.
- Configuring Security Settings:
- Enable SSL/TLS encryption for secure email communications.
- Set up two-factor authentication (2FA) for added security.
- Configure anti-spam and anti-virus settings to protect against threats.
Ongoing Administration and Maintenance:
- Performing Backups:
- Regularly back up the Kerio Connect server to prevent data loss.
- Use the built-in backup tools or third-party solutions for automated backups.
- Updating Kerio Connect:
- Keep Kerio Connect up to date with the latest patches and updates to ensure security and performance.
- Follow the update instructions provided by Kerio.
- Monitoring System Health:
- Use the administration console to monitor server performance and health.
- Set up alerts for critical issues and take proactive measures to address them.
Kerio Connect Features and Functionality
Key Features:
- Email:
- Comprehensive email services with robust security features.
- Supports IMAP, POP3, and SMTP protocols.
- Calendaring:
- Shared calendars for scheduling meetings and events.
- Integration with popular calendar clients like Microsoft Outlook and Apple Calendar.
- Contacts:
- Centralized contact management with easy sharing and access.
- Synchronization with mobile devices and email clients.
- Tasks:
- Task creation, delegation, and tracking for improved productivity.
- Integration with email and calendar for seamless workflow.
- Instant Messaging:
- Real-time chat within the organization.
- Integration with Kerio Connect Client for desktop and mobile use.
Kerio Connect Configuration and Administration
Initial Configuration:
- Accessing the Administration Console:
- Open a web browser and navigate to the Kerio Connect administration interface (e.g.,
https://yourserver:4040/admin). - Log in with the administrator credentials.
- Open a web browser and navigate to the Kerio Connect administration interface (e.g.,
- Setting Up Email Accounts:
- Navigate to the Users section and create new user accounts.
- Configure email addresses, passwords, and other user settings.
- Managing Users:
- Organize users into groups for easier management.
- Set up user permissions and access controls.
- Configuring Security Settings:
- Enable SSL/TLS encryption for secure email communications.
- Set up two-factor authentication (2FA) for added security.
- Configure anti-spam and anti-virus settings to protect against threats.
Ongoing Administration and Maintenance:
- Performing Backups:
- Regularly back up the Kerio Connect server to prevent data loss.
- Use the built-in backup tools or third-party solutions for automated backups.
- Updating Kerio Connect:
- Keep Kerio Connect up to date with the latest patches and updates to ensure security and performance.
- Follow the update instructions provided by Kerio.
- Monitoring System Health:
- Use the administration console to monitor server performance and health.
- Set up alerts for critical issues and take proactive measures to address them.
Conclusion
Kerio Connect is a powerful and flexible email and collaboration platform that offers a wide range of features to meet the needs of small to medium-sized businesses. Its ease of installation, comprehensive feature set, and strong security make it an ideal choice for organizations looking to enhance their communication and collaboration capabilities. By following the detailed installation and configuration steps provided in this blog post, you can quickly set up and manage your Kerio Connect server, ensuring a smooth and efficient operation.
In the next section we will learn how to Set Up and Manage User Accounts in Kerio Connect

[…] Click on the link to read more about how to install and configure Kerio Connect […]
Thank you for this tutorial
[…] options, and the best source for downloading Aria Operations. The guide also delves into post-download configuration steps, deployment best practices, and key features of the software. Whether users are looking for a free […]