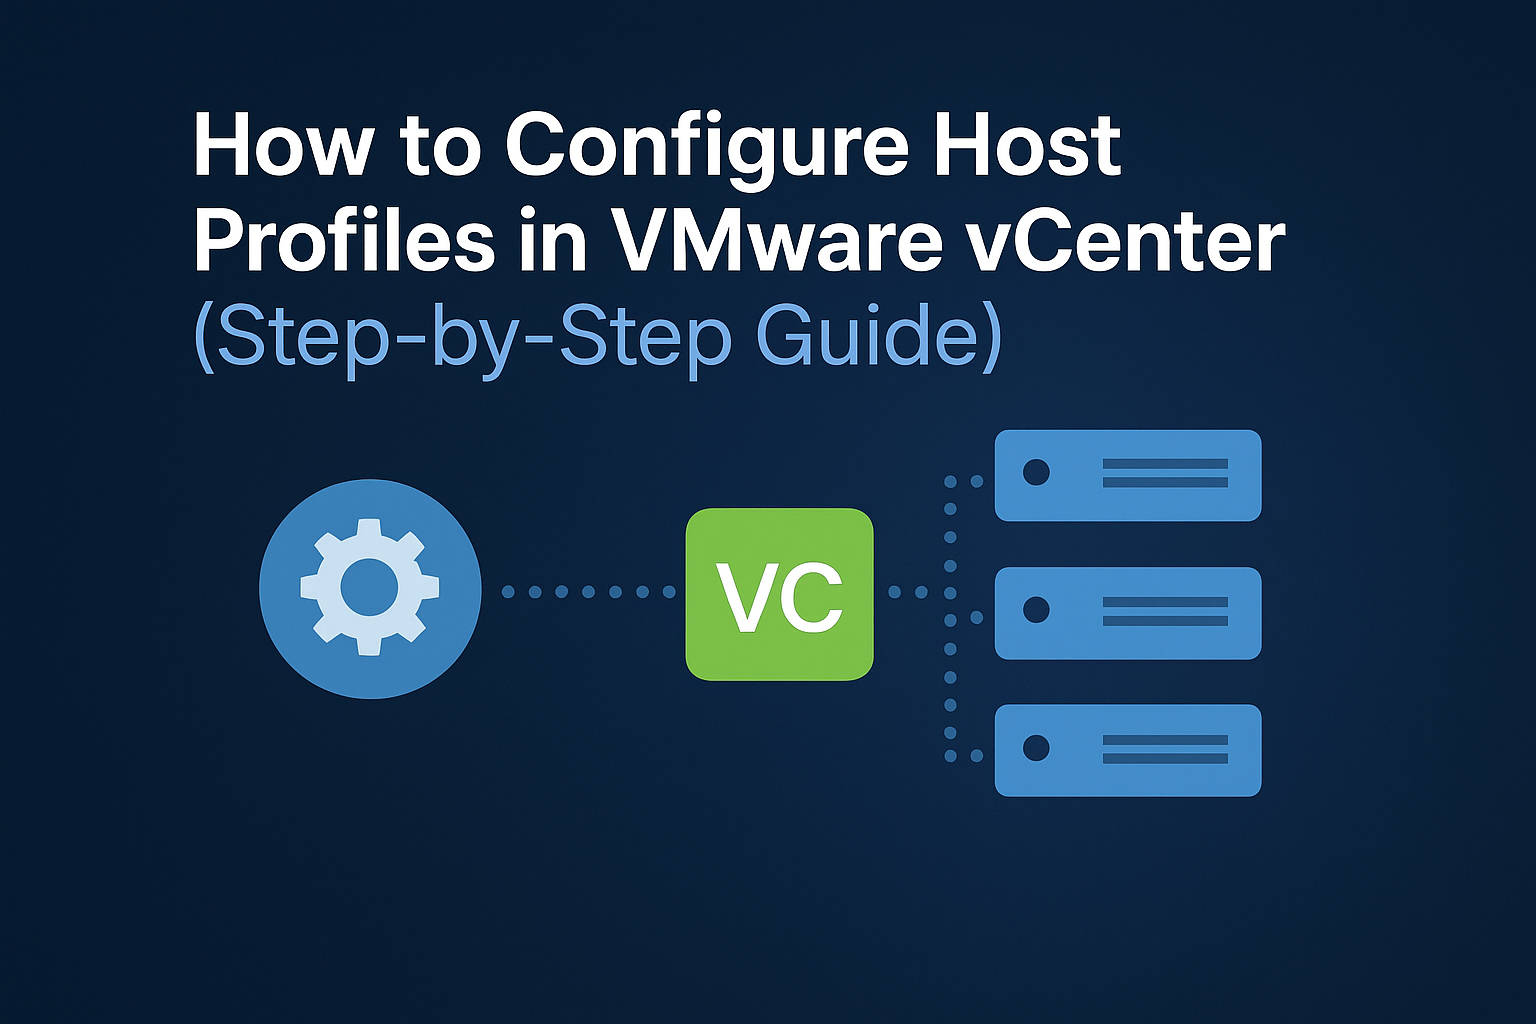
How to Configure Host Profiles in VMware vCenter (Step-by-Step Guide)

Introduction to Host Profiles
Host Profiles in VMware vCenter simplify and standardize ESXi host configuration. They help enforce consistent settings across your VMware environment, reducing manual errors and speeding up provisioning.
Benefits of Using Host Profiles
Standardize host configurations
Reduce configuration drift
Improve operational efficiency
Automate host remediation
Facilitate compliance audits
Prerequisites for Host Profiles in vCenter
Before configuring host profiles, ensure the following:vCenter Server is installed and operationalESXi hosts are added and connectedAt least one reference host is fully configuredvSphere Enterprise Plus license (required for host profiles).
Creating a Host Profile in vCenter
Here’s how to create a Host Profile:
Log in to vSphere Web Client.
Navigate to Policies and Profiles > Host Profiles.
Click “Extract Host Profile”.
Select the reference host with the correct configuration.
Name the profile (e.g., Baseline-ESXi-Profile).
Click Finish.
Your host profile is now created from the reference host.
Attaching and Applying Host Profile to ESXi Hosts
Go to Host Profiles.
Right-click your new profile and select Attach/Detach Hosts and Clusters.
Choose the hosts or clusters to attach.
Click Attach.
Once attached, select Check Host Profile Compliance to verify configurations.
Remediating Non-Compliant Hosts
If a host shows as non-compliant:
- Select the host.
- Click Remediate.
- Review configuration differences.
- Apply necessary changes.
The host will reboot if required to apply changes.
Real-World Use Cases
Deploying multiple ESXi hosts with identical settings.
Enforcing security configurations (e.g., SSH access).
Applying storage/network policies across a cluster.
Automating compliance for audit readiness.
Lab Tutorial: Configure Host Profiles in vCenter
Lab Setup Requirements
VMware vCenter Server (7.x or above)At least two ESXi hosts.
vSphere Web Client access
Enterprise Plus license
Step-by-Step Instructions
✅ Step 1: Choose a Reference Host
Log into vCenter.Configure one ESXi host with desired settings (NTP, SSH, VMkernel ports, etc.).
✅ Step 2: Extract Host ProfileGo to Host Profiles.Click Extract Host Profile from the reference host.
✅ Step 3: Attach Profile to Target Hosts
Go to Host Profiles > Right Click > Attach/Detach Hosts.
Choose the other ESXi host(s) to attach.
✅ Step 4: Check for Compliance.
Click Check Host Profile Compliance.View differences.
✅ Step 5: Remediate
Click Remediate to apply the profile.
Reboot the host if prompted.
✅ Step 6: Validate Settings
Ensure the applied host matches the reference host settings.
Confirm in Host Profiles > Compliance that the host is now compliant.
Final Thoughts
Configuring Host Profiles in VMware vCenter is crucial for scaling and securing a virtual infrastructure. By leveraging Host Profiles, admins reduce risk, ensure consistency, and save time managing ESXi hosts. Always validate after remediation and keep host profiles updated when changes are made to your baseline configuration.


👍👍👍