Proxmox Backup Server with NFS repository configuration

The Proxmox Backup Server (PBS) is the Proxmox native solution designed to protect your workloads in case of failures.
Similar to the Proxmox hypervisor, PBS is an open-source solution that doesn’t require any license to operate.

Install Proxmox Backup Server
Obtain the Proxmox Backup Server ISO from the official Proxmox website.

As a best practice, the server should not be installed on the same host or cluster where VMs to be protected are running. It can be installed in either physical or virtual environment.
Run the installer and select Install Proxmox Backup server to proceed.

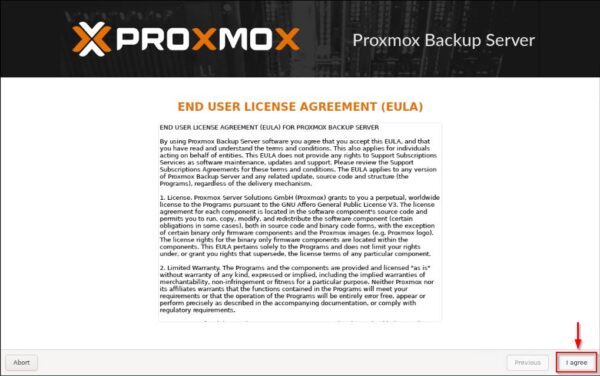
Click I agree to accept the EULA.
Choose the Target Harddisk for the installation and click Next.

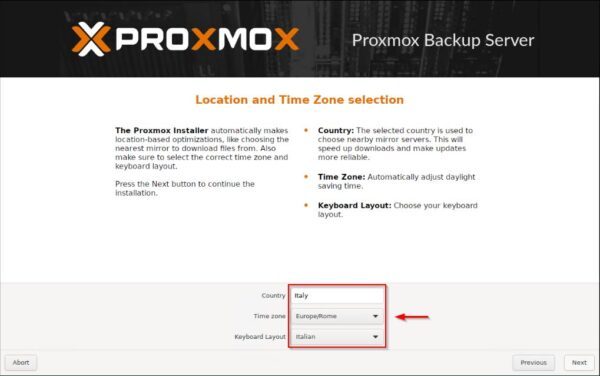
Select Country, Time zone and Keyboard Layout then click Next.
Specify the Password and the Email address then click Next.

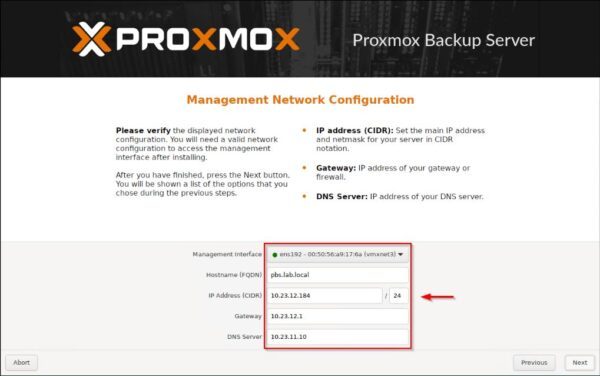
Configure the Network Configuration settings and click Next.
Click Install to begin the installation.

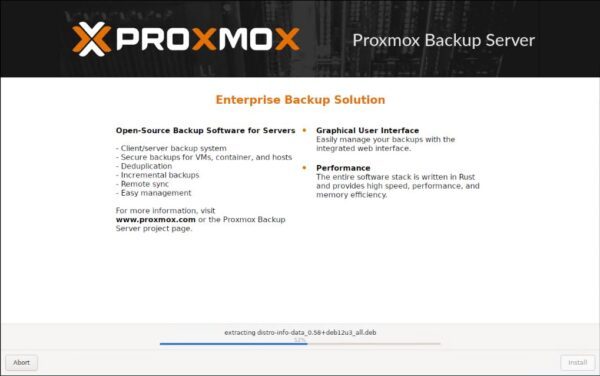
Proxmox Backup Server is being installed.
Once the installation is complete, click Reboot. Remember to disconnect the ISO image.

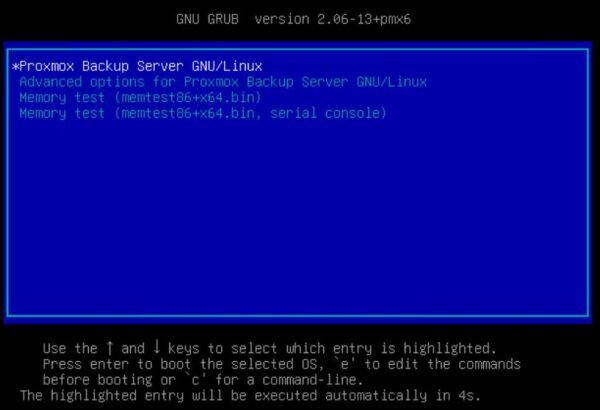
When the server boots, select Proxmox Backup Server GNU/Linux.
Login the server console using the address displayed.

Configure the NFS share in the Backup Server
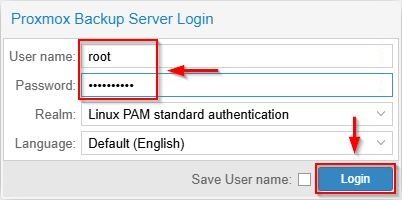
Using your preferred browser, type the address: https://<server_ip>:8007. Enter the User name and Password then click Login.
When the console is displayed, click >_ Shell to access the the command-line interface.

Create a new folder to be used as a mount point for storing backups.
# mkdir /mnt/repository

Assign the necessary permissions to the newly created directory. The backup account, which will be created later, is used by the server to save backups to /mnt/repository.
# chown backup:backup /mnt/repository
# chmod 775 /mnt/repository

Proxmox Backup Server with NFS repository configuration

The Proxmox Backup Server (PBS) is the Proxmox native solution designed to protect your workloads in case of failures.
Similar to the Proxmox hypervisor, PBS is an open-source solution that doesn’t require any license to operate.
Install Proxmox Backup Server
Obtain the Proxmox Backup Server ISO from the official Proxmox website.

As a best practice, the server should not be installed on the same host or cluster where VMs to be protected are running. It can be installed in either physical or virtual environment.
Run the installer and select Install Proxmox Backup server to proceed.

Click I agree to accept the EULA.

Choose the Target Harddisk for the installation and click Next.

Select Country, Time zone and Keyboard Layout then click Next.

Specify the Password and the Email address then click Next.

Configure the Network Configuration settings and click Next.

Click Install to begin the installation.

Proxmox Backup Server is being installed.

Once the installation is complete, click Reboot. Remember to disconnect the ISO image.

When the server boots, select Proxmox Backup Server GNU/Linux.

Login the server console using the address displayed.

Configure the NFS share in the Backup Server
Using your preferred browser, type the address: https://<server_ip>:8007. Enter the User name and Password then click Login.

When the console is displayed, click >_ Shell to access the the command-line interface.

Create a new folder to be used as a mount point for storing backups.
# mkdir /mnt/repository

Assign the necessary permissions to the newly created directory. The backup account, which will be created later, is used by the server to save backups to /mnt/repository.
# chown backup:backup /mnt/repository
# chmod 775 /mnt/repository

Verify the granted permissions.
# cd /mnt
# ls -l

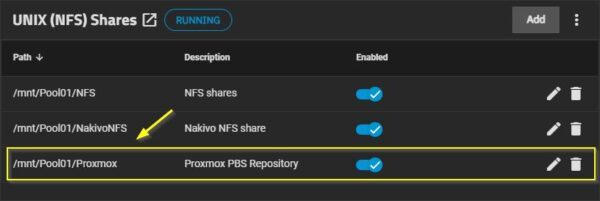
Ensure you create an NFS share (/mnt/Pool01/Proxmox in the example) on the storage that will serve as your repository.
Now run the following command to add the mount point to the /etc/fstab file.
# echo “10.23.12.98:/mnt/Pool01/Proxmox /mnt/repository nfs vers=3,nouser,atime,auto,retrans=2,rw,dev,exec 0 0” >> /etc/fstab

This line will be appended to /etc/fstab.

Mount the newly added volume with the command:
# mount -a

Reload the systemd daemon to recognize the fstab changes.
# systemctl daemon-reload

Assign the required permissions to the /mnt/repository folder once again.
# chmod 775 /mnt/repository
# ls -l

Add the datastore to the server
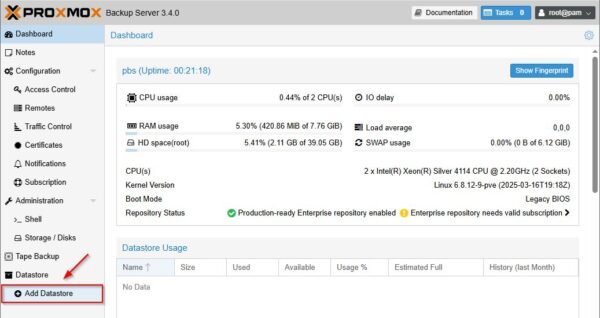
Go back to the server console and click Add Datastore.
Enter the Name for the datastore and the Backing Path corresponding to the /etc/repository path created earlier.

The NFS datastore is being created.

When the operation is complete, the nfs-storage section (or the name you assigned in the previous step) will be displayed in the console. The NFS datastore is now successfully attached to the Proxmox Backup Server.

Create the backup account
For security reason is not a good idea to run backups using the root account. Instead, create a dedicated user for this purpose.
Go to Configuration > Access Control and under User Management click Add.

Enter the User name and Password then click Add.

The newly created user.

Assign Permissions to the NFS datastore
Now, you need to grant the newly created user permissions to access the NFS datastore.
In the left pane, click the datastore name created earlier (nfs-storage) then click Permissions.

Click Add and select User Permission.

Enter the Path (this should be the path to your datastore like/mnt/repository), select the User (remember to append @pbs to the account name), and choose DatastoreAdmin as the Role. Click Add.

The selected user will now have the necessary permissions to manage the NFS datastore.

Add the PBS Server to Proxmox cluster
To integrate your Proxmox Backup Server (PBS) with your Proxmox VE cluster, go to the PBS Dashboard area and click Show Fingerprint.

Click Copy to copy the displayed fingerprint code to your clipboard.

Now login to a Proxmox host that is member of the cluster and navigate to Datacenter > Storage. Click Add and select Proxmox Backup Server.

Specify ID, Server (IP or FQDN) and provide Username and Password of the backup account created earlier on the PBS. Enter the Datstore name as it is reported in the PBS interface (nfs-storage in the example). Paste the fingerprint code you copied earlier into the Fingerprint field and click Add.
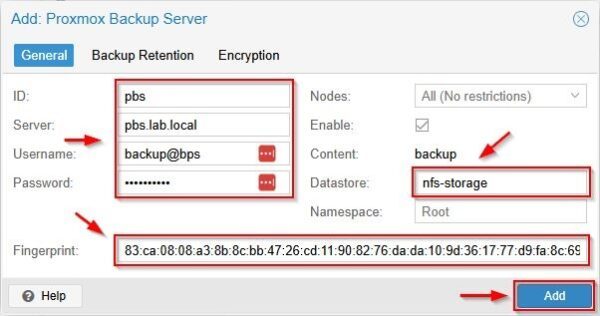
The Proxmox Backup Server will now be successfully added to your Proxmox VE cluster, making its datastores available for backup and restore operations.

Test the backup
To verify that the configuration works as expected, you should perform a test backup and check the result.
Select a VM running in your Proxmox cluster then click Backup. Click Backup now.
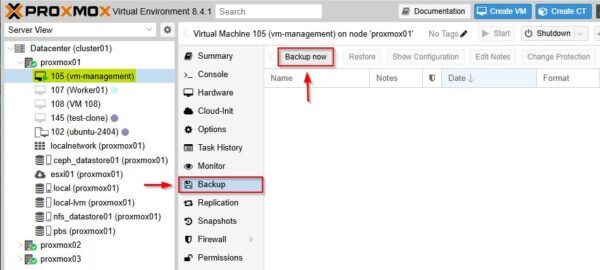
From the Storage dropdown, select the PBS server you previously added to the cluster. Click Backup.

The backup is being executed.
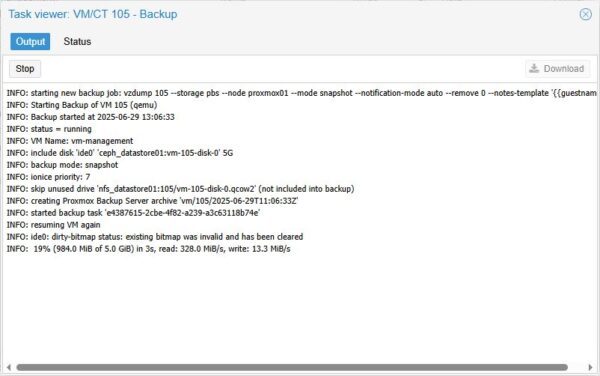
Depending on the VM size, after some minutes the backup is completed successfully.

To confirm the success of your backup, ensure that the Task Summary on the Proxmox Backup Server (PBS) Dashboard displays a green check mark.

If NFS is your chosen protocol for backup storage and Proxmox is your solution for workload backups, then Proxmox Backup Server (PBS) is an affordable option that provides robust protection for your virtual environment.


