VMware Horizon 8 upgrade sequence
When a new version of Horizon is released by VMware, to upgrade the VDI infrastructure it is necessary to follow a specific upgrade sequence to avoid service disruption.
VMware is releasing new versions about every three months for the VDI platform Horizon and it is suggested to keep the infrastructure up-to-date to take benefit of new features provided fixing bugs and enforcing the security.
VMware Horizon 8 upgrade sequence
In a typical on-premises Horizon infrastructure, the installed components are mainly the following:
- Connection Servers – the core system
- UAGs – for external connections
- App Volumes – to provide persistent area and virtual apps
- Agents – installed in the VDI client
- DEM Tool – to customize the user environment
When a new version is released, the upgrade procedure must be planned carefully by following the correct upgrade sequence (see the table from VMware).
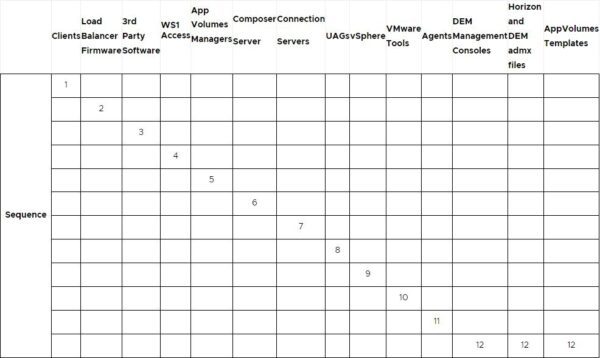
It is important to follow the correct upgrade sequence to avoid potential issues and service disruption.
Before proceeding with the upgrade, download from VMware website the latest Horizon components version to install.
Upgrade the Horizon Client
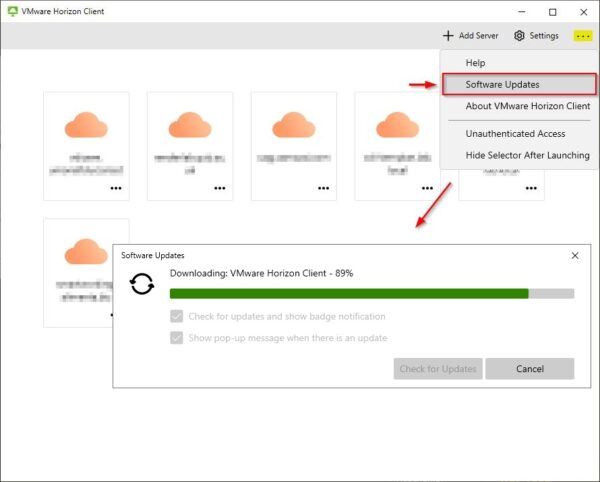
If you use the Horizon Client to connect the VDI infrastructure, this is the first component to upgrade. Open the Horizon Client, click … (3 dots) then select Software Updates. If a new version is found, proceed with the download.
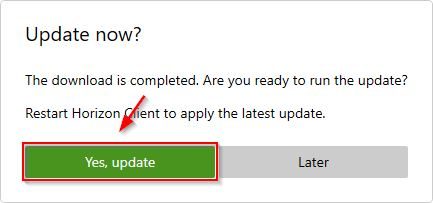
Click Yes, update to install the upgrade.
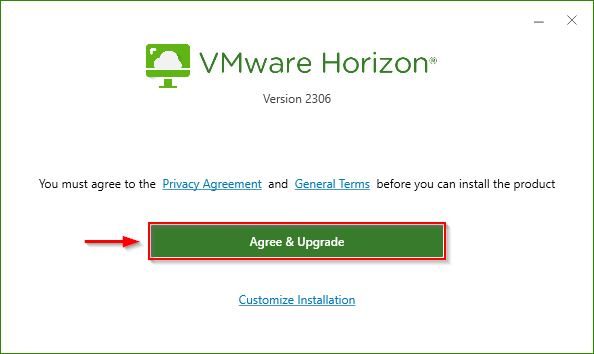
Click Agree & Upgrade button.
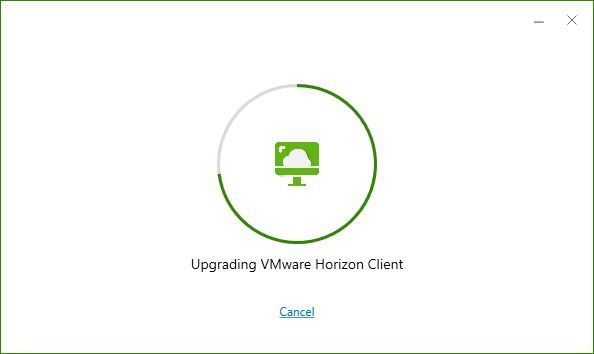
The client is being upgraded.
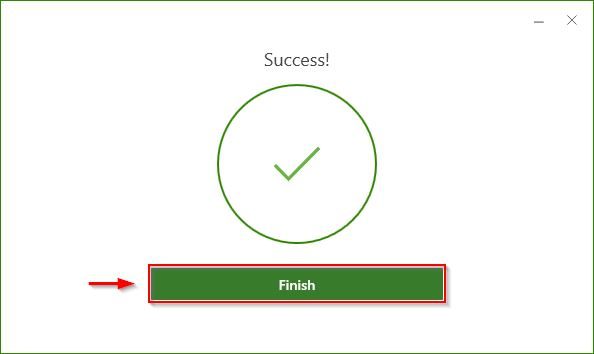
When the upgrade is complete, click Finish.
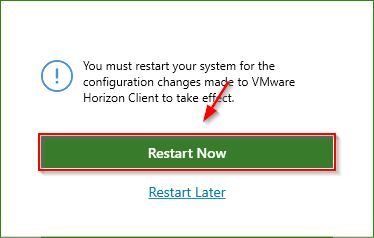
Click Restart Now to complete the upgrade procedure.
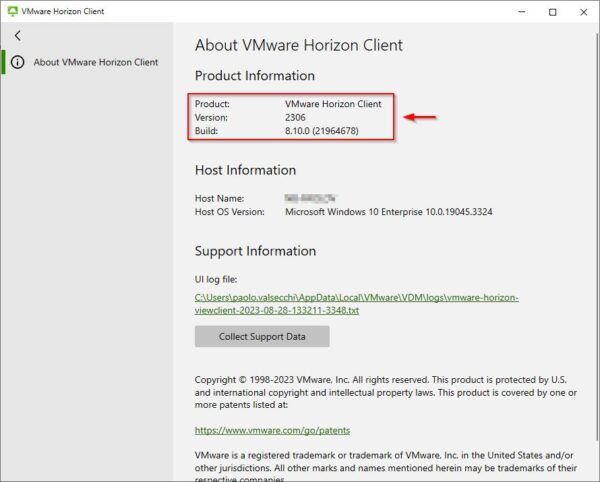
The Horizon Client has been upgraded successfully with the latest version.
Upgrade the App Volumes Manager
If App Volumes is used in your VDI infrastructure, this is the next component to upgrade. To limit the service degradation during the upgrade process, schedule a maintenance window to limit the traffic.
To restore the App Volumes service in case something bad occurs during the upgrade procedure, make sure you have the backup of the App Volumes database and create a full backup or take a snapshot of the App Volumes Manager server.
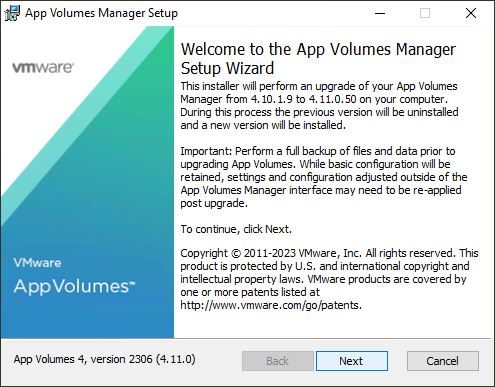
Download the latest version and run the App Volumes Manager installer. Click Next.
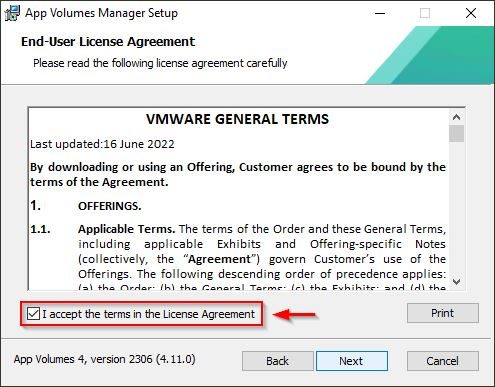
Accept the EULA and click Next.
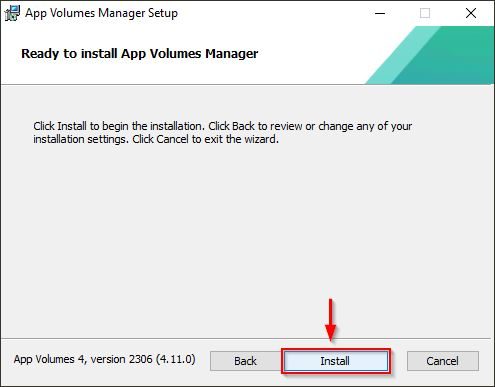
Click Install to proceed with the upgrade.
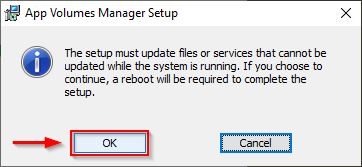
Click OK.
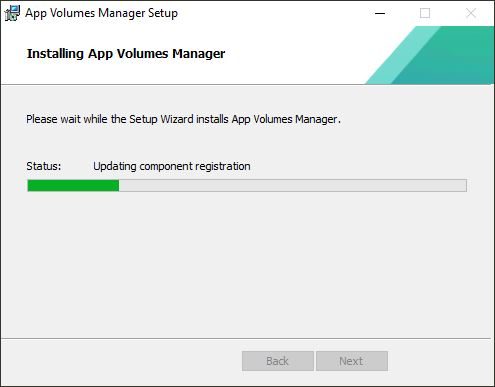
The upgrade is being installed. The procedure takes several minutes.
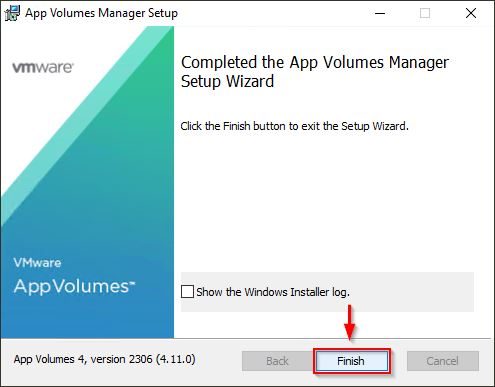
When the upgrade has been completed, click Finish to exit the wizard and reboot the server.
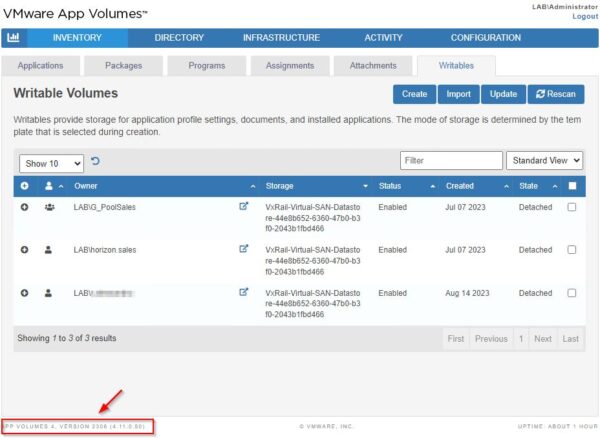
The App Volumes Manager has been upgraded successfully.
Upgrade the Connection Server
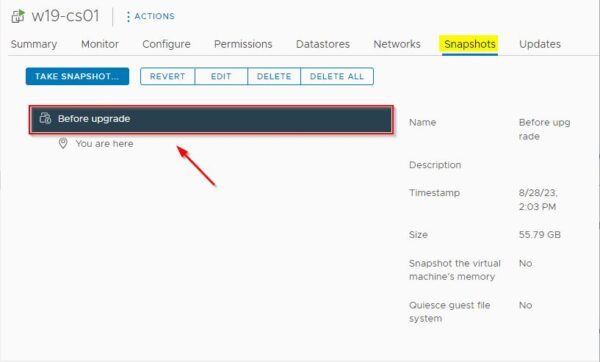
The Connection Server is the next component to upgrade in the upgrade sequence. Before proceeding, take a snapshot of the Connection Server to process.
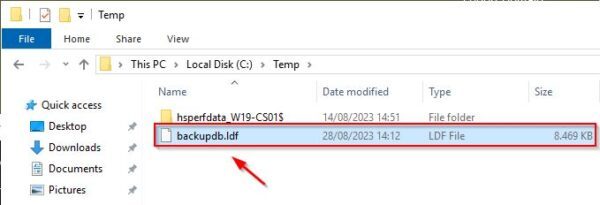
It is also recommended to take the backup of the LDAP database using the vdmexport.exe utility. In the Connection Server open the Command Prompt and type the following commands:
C:\> cd \Program Files\VMware\VMware View\Server\tools\bin
C:\...> vdmexport.exe -f c:\temp\backupdb.ldf

The exported DB file.
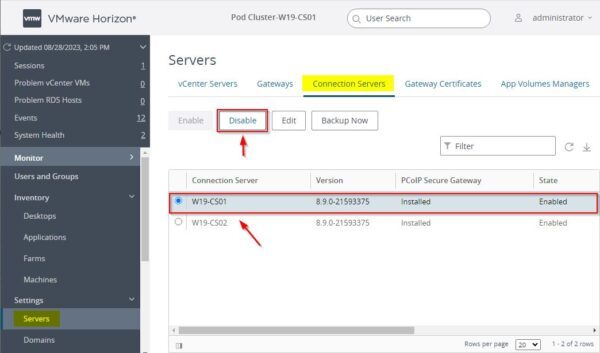
If your infrastructure uses load balancers to manage a group of Connection Servers, before upgrading a specific server you need first to disable the server to process. No need to modify the configuration of the load balancers.
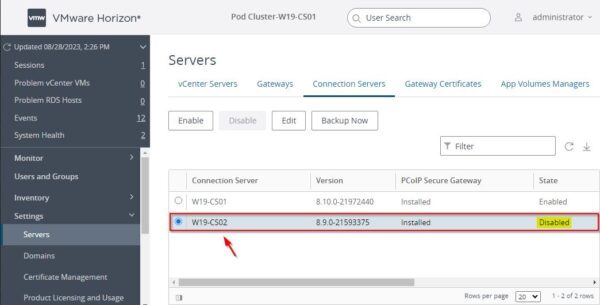
To disable the Connection Server to upgrade, open the Horizon console and go to Settings > Servers area. Go to Connection Servers tab and select the Connection Server to disable. Click the Disable button.
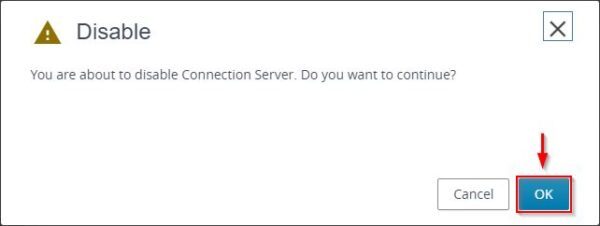
Click OK to confirm.
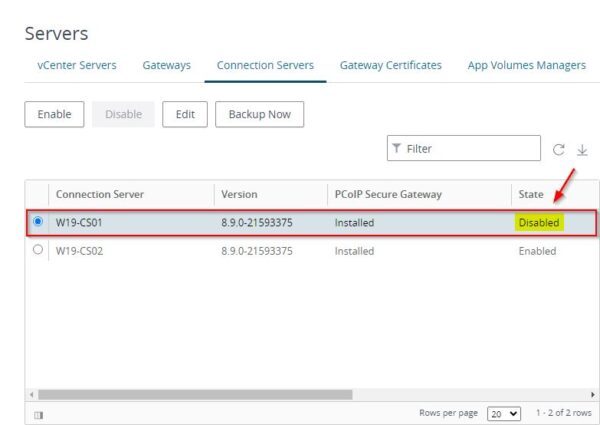
The selected Connection Server has been disabled.
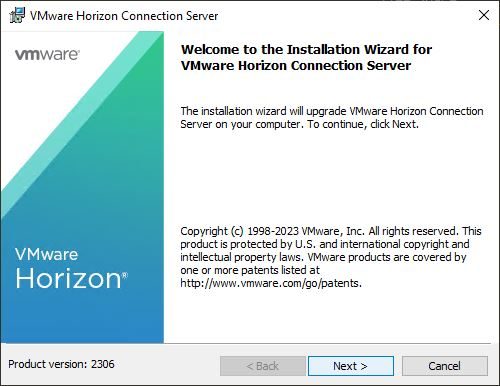
Login to the just disabled server and run the Connection Server installer. Click Next.
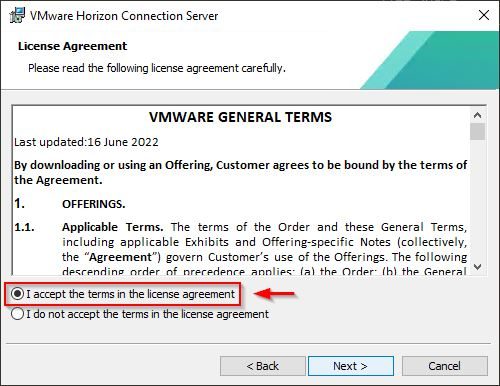
Accept the EULA and click Next.
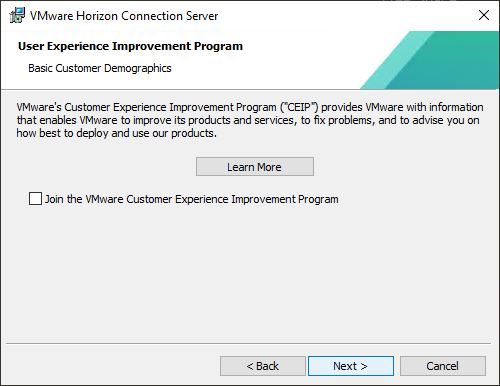
Click Next.
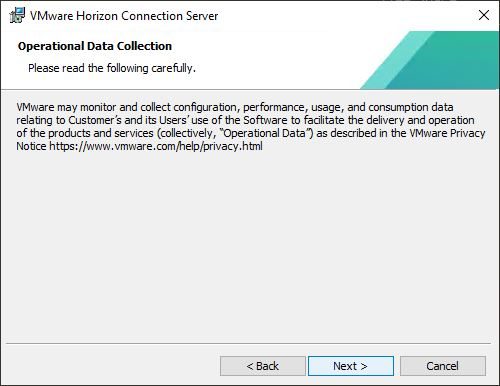
Click Next.
Click Install to proceed with the upgrade.
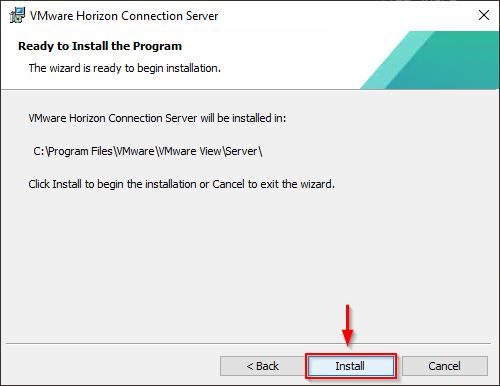
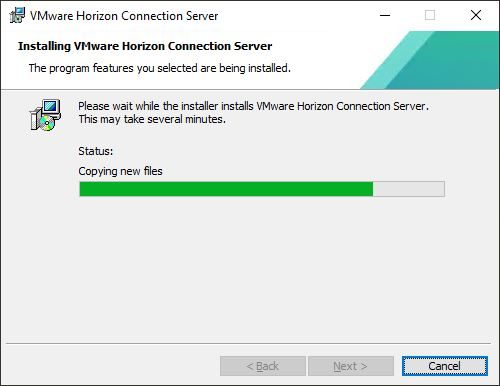
The upgrade is being installed in the Connection Server.
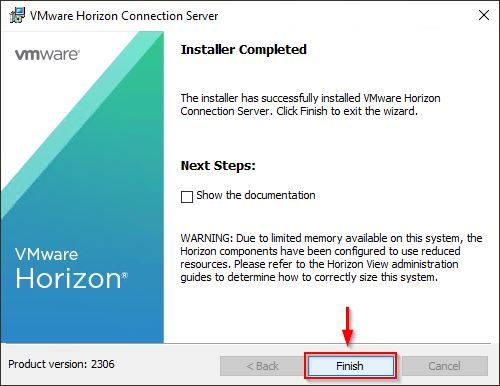
After a few minutes, the installation is completed successfully. Click Finish to exit the wizard.
Enable the upgraded server and repeat the same procedure for all the others Connection Servers installed.
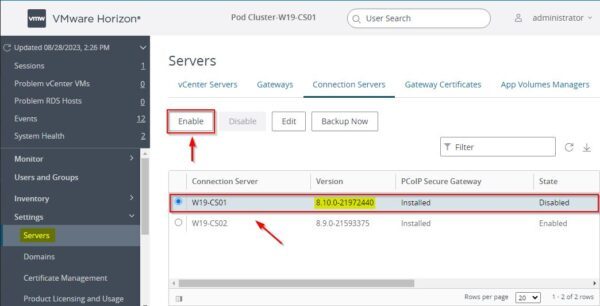
Disable the next Connection Server and run the upgrade.
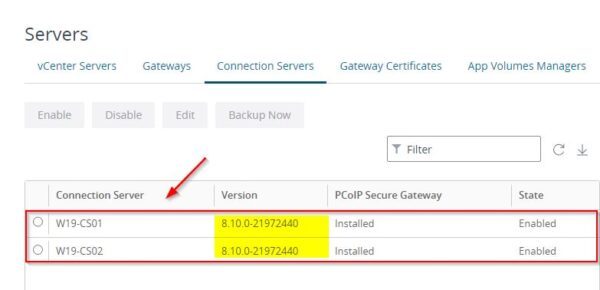
The Connection Servers have been upgraded successfully and the new version is reported in the Version column.
Upgrade UAG
The UAG upgrade is the next step included in the VMware Horizon 8 upgrade sequence. An in-place upgrade is not available and you need to re-deploy the UAG appliance.
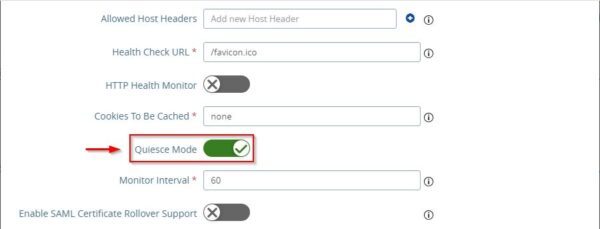
To avoid clients disconnection, turn on Quiesce Mode in the first UAG to upgrade to make the appliance status as not available when the load balancer checks the health of the appliance. When a new connection request arrives, the load balancer will pass it on to the next available UAG.
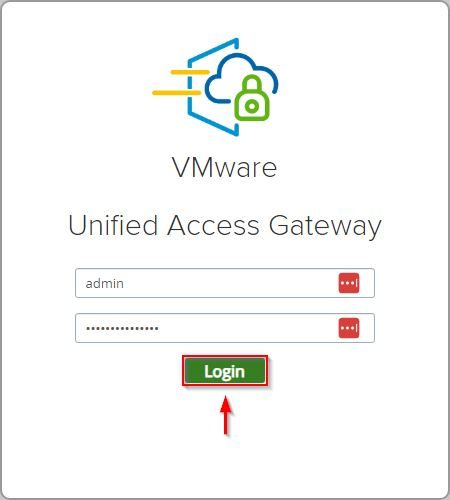
Login the UAG by entering the correct credentials. Click Login.
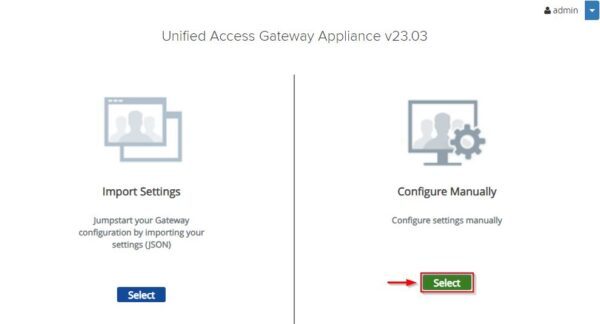
Click Select in the Configure Manually pane.
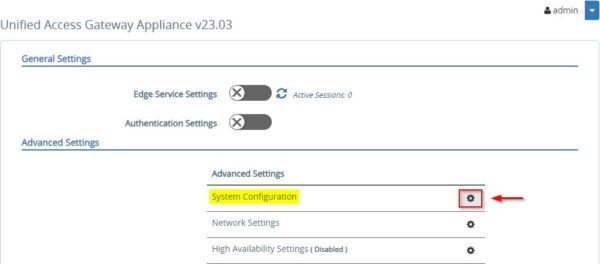
In the Advanced Settings section, click the System Configuration gearbox icon.
Turn on the Quiesce Mode toggle and click Save at the bottom. Existing sessions will be kept for 10 hours, after which the sessions are closed.
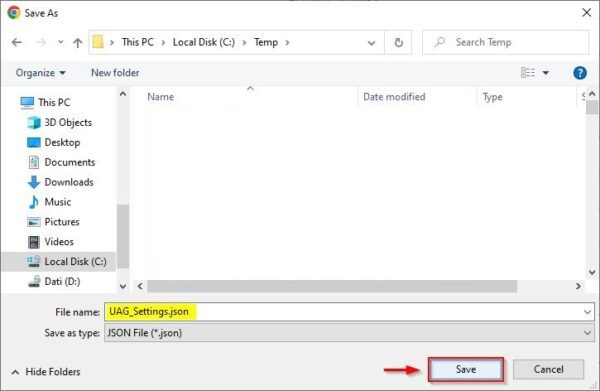
To preserve all configured settings, the UAG configuration must be exported. Scroll down until Support Settings section then click JSON button to export the configuration.

Save the configuration anywhere on your computer.
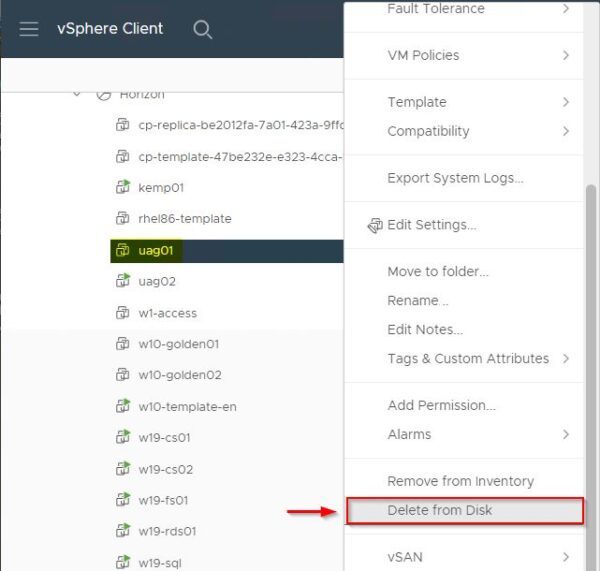
Now Power off and Delete from Disk the old UAG appliance.
Deploy the new UAG appliance.
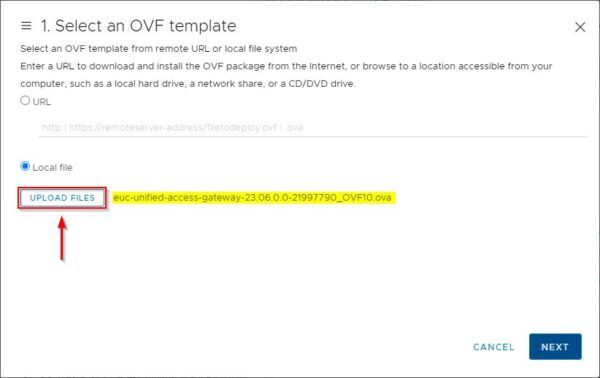
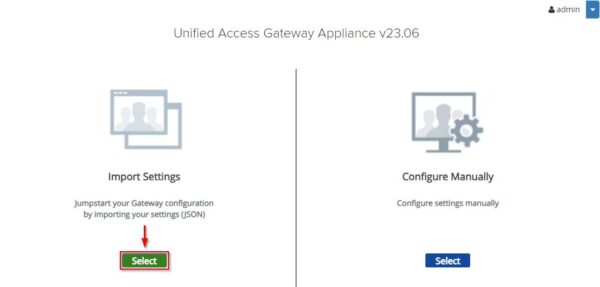
Once deployed, Power On and Login the new appliance then click Select in the Import Settings pane.
Click Browse and select the JSON file previously saved then click Import.

The new UAG is now up and running.
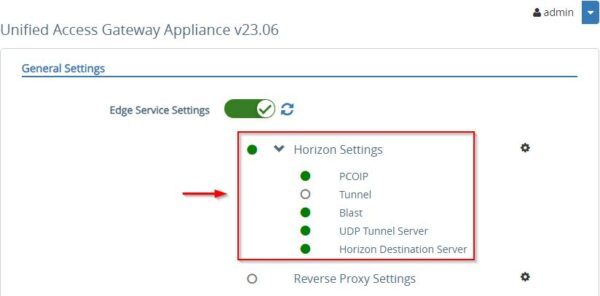
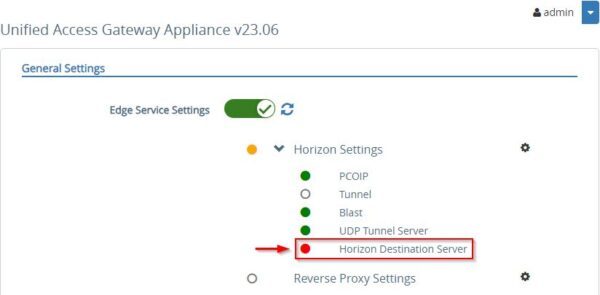
If the communication between the new UAG and the Connection Server is not established and you are using a .local internal domain, make sure you modified the entry in the resolved.conf file in the UAG appliance.
If an SSL certificate was previously installed in the old UAG, you must upload the certificate again since it is not saved in the JSON file.
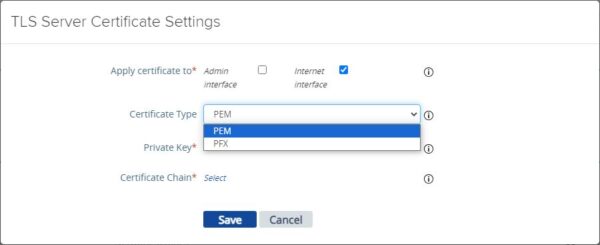
Repeat the same procedure for the additional UAGs installed in your infrastructure.
Upgrade Agents
To match the Horizon infrastructure version, all the Agents installed in the Golden Image must be upgraded accordingly:
- Horizon Agent
- App Volumes agent
- DEM agent
If the RDS farm is configured in the VDI infrastructure to publish applications, the Horizon Agent must be upgraded also in the RDS server.
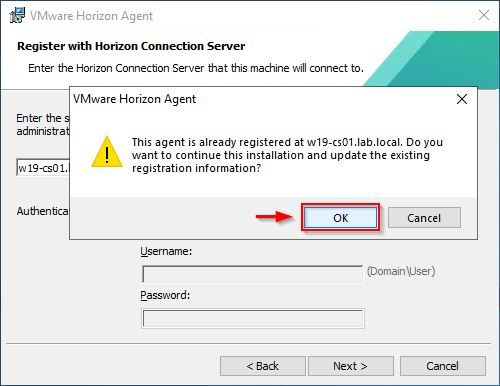
Upgrade the DEM Console
If the DEM Tool is used to configure the user environment, the DEM console must be updated on all computers where it has been installed.
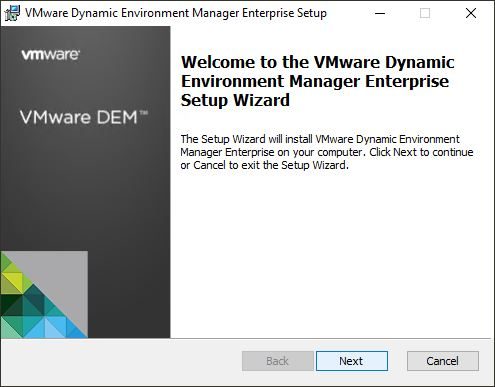
Run the DEM installer and click Next.
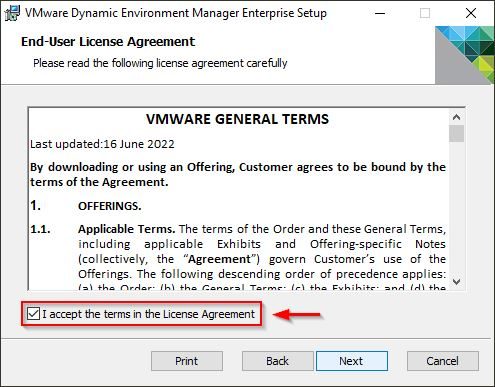
Accept the EULA and click Next.
Click Next.
Click Next.
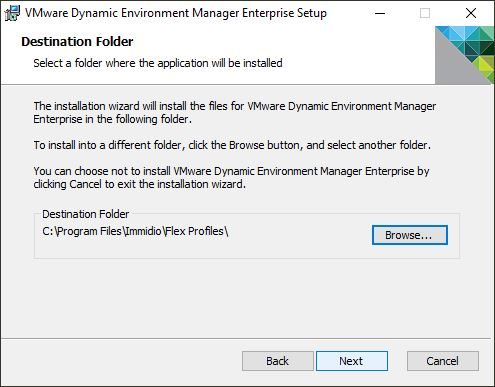
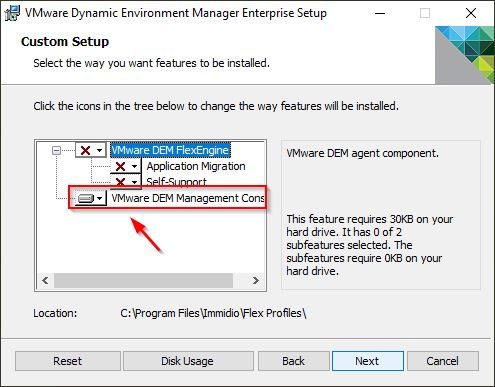
Make sure VMware DEM Management Console is selected for the installation. Click Next.
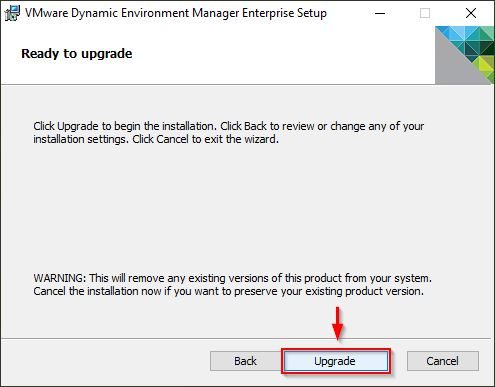
Click Upgrade.
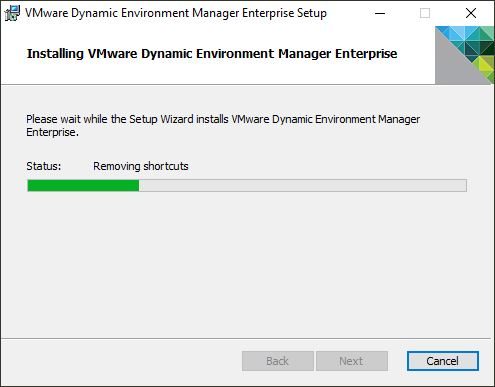
DEM is being upgraded.
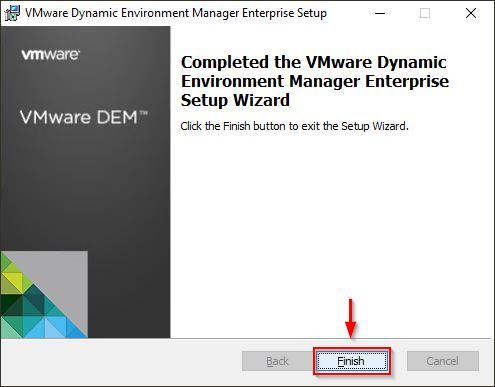
When the upgrade has been completed, click Finish to exit the wizard.
Upgrade Horizon and DEM admx files
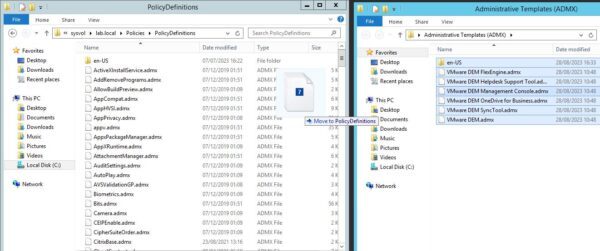
The last step in the upgrade sequence is the upgrade of both Horizon and DEM admx files.
Copy the new admx templates to the correct folder in the Domain Controller.
C:\Windows\SYSVOL\sysvol\<domain>\Policies\PolicyDefinitions
Following the correct upgrade sequence, administrators don’t experience bad issues in the Horizon infrastructure due to the upgrade procedure and the VDI service won’t be disrupted.
