

In this article, we will guide you on the process of altering the domain name on Windows Server 2022. A key feature of Windows Server 2022 is its ability to function as a domain controller, providing a centralized platform for accessing services and acting as administrators for domain objects such as users and computers. Through the implementation of policies, roles, and services, we can effectively manage each of these objects. For a more comprehensive understanding of how to change a domain name, we recommend visiting the Woshub website.
Changing the domain name is a task that may not occur frequently, but it can become necessary due to various reasons such as updating the organization’s name, company sale, legal adjustments, and more. However, this process involves several steps. In this article, we will delve into these steps to effectively change the domain name in Windows Server 2022.
Change Domain Name
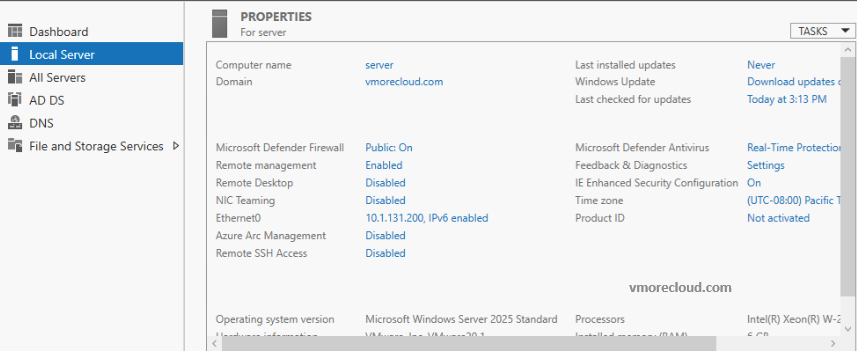
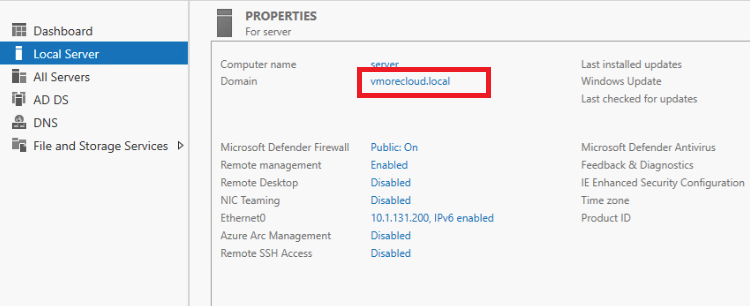
First, we will need to check the current domain name in the Server Manager.
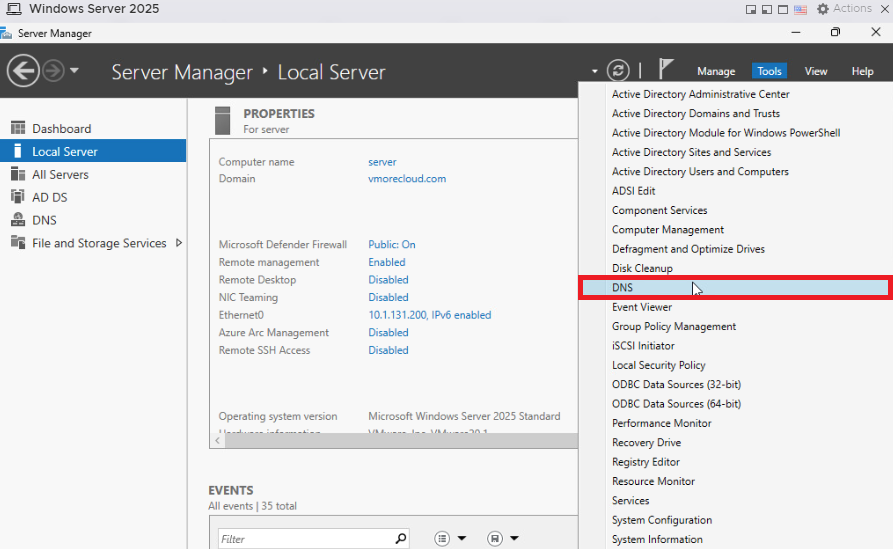
Click on the Tools tab, and then DNS.
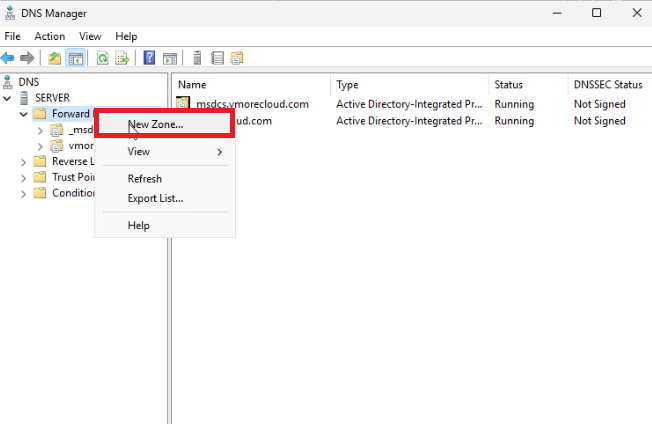
In the DNS manager console, we will right-click on “forward lookup zones” and in the options displayed, we will choose “New zone“
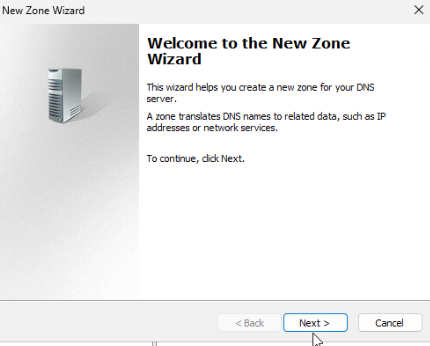
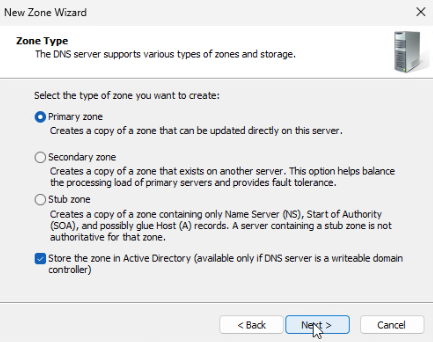
Welcome to the new zone wizard. Choose next.
Leave the zone type (primary zone) selected, and then choose next.
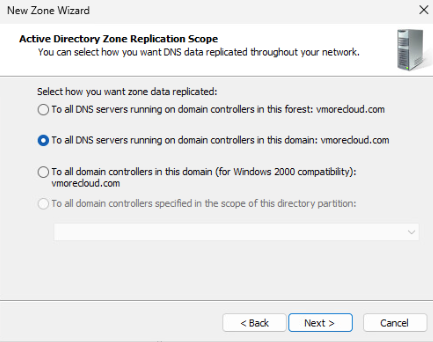
On the Active Directory zone replication scope page, choose the box “To all DNS servers running on domain controllers in this domain: vmorecloud.com and choose next.
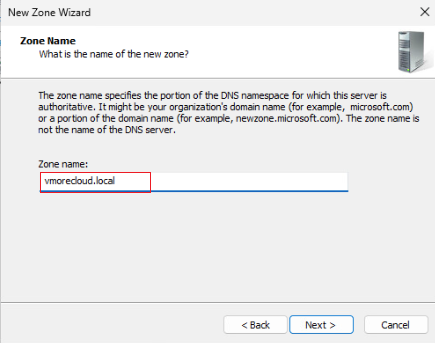
In the zone name window, we enter the name of the new domain and choose next.
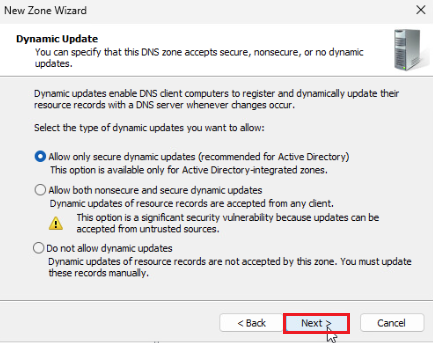
Dynamic update: choose the box Allow only secure domain updates, and click next.
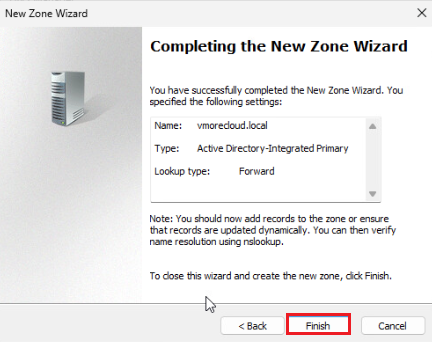
Verify the new zone wizard summary and click Finish.
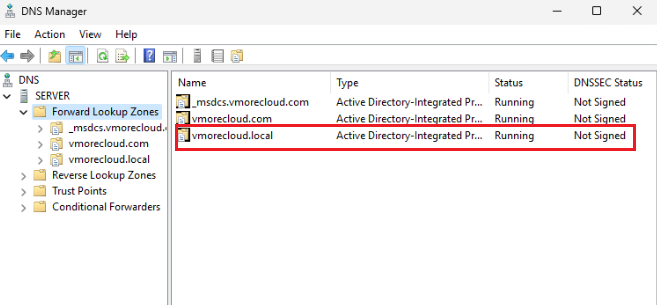
Now you can see “vmorecloud.local” in the DNS manager.
How to Generate Random List
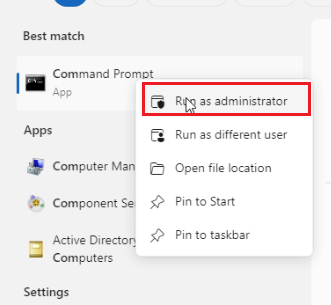
Search the command prompt and then run an administrator.
In the console, enter the below command to generate a domain list.
rendom / list
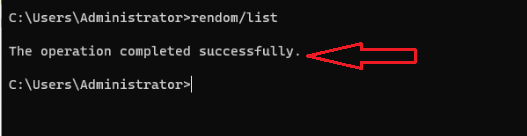
The above command will create a file with the registered domains. You can see this file on the C: drive.
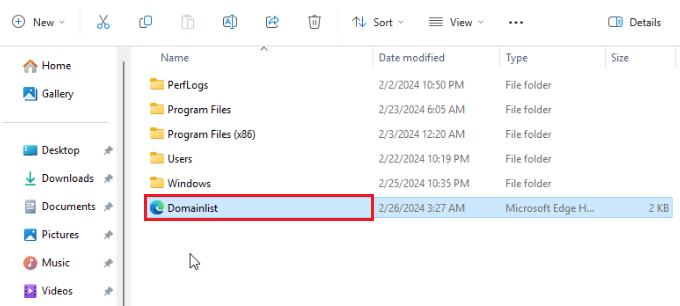
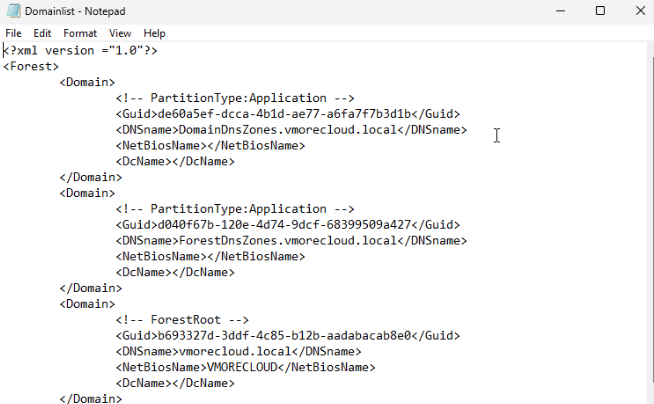
We open the file and see the content.
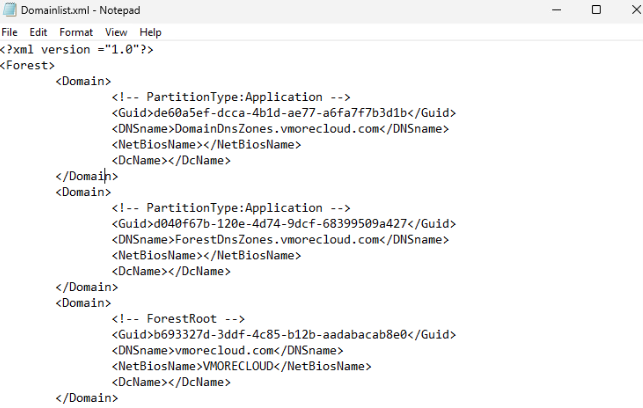
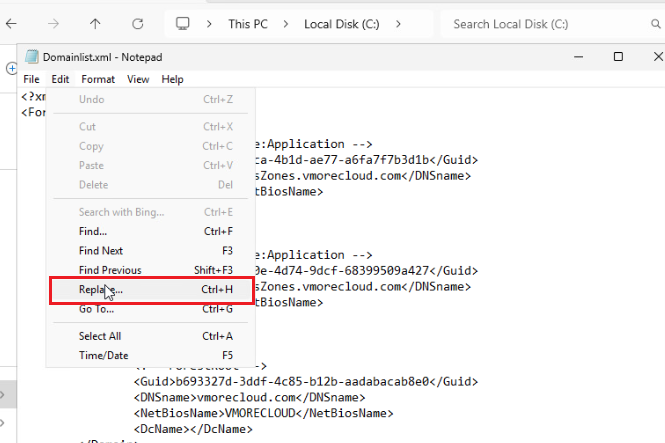
Now we open the domain list file with Notepad for editing. Click on the Edit menu and choose Replace.
We need to change the name of the current domain to the new domain. Type the existing domain and the new domain (vmorecloud.local) and click Replace All.
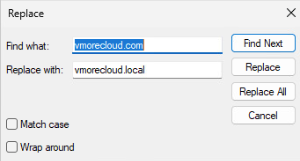
Finally, replace the current domain name with the new domain in the NetBiosName line. Apply the changes.
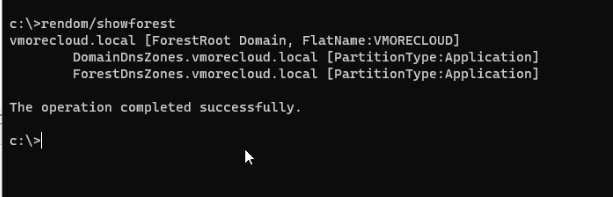
Go back to the command prompt and then type the below command.
random /showforest
This command will show the structure of your new domain that we have registered.
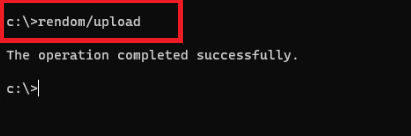
Now we run the following command to update this information:.
rendom / upload
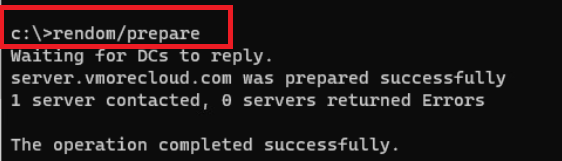
This is the time to prepare the domain name change by entering the following command:
rendom / prepare
Enter the below command to execute the script.
Random /execute

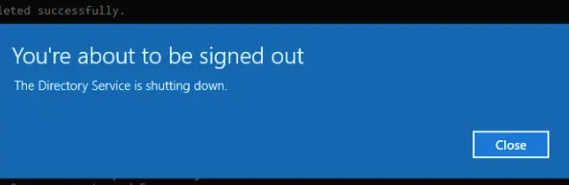
Verify the script was executed successfully.
You are about to be signed out, click on Close.” The server will restart.
On the Windows Server 2022 login screen, we need to select the option “other user.” There, we login with the new domain and user. Now it changed from vmorecloud.com to vmorecloud.local
How to Fix Domain Name Dependencies in Group Policy Objects
After logging in, access the CMD as an administrator. To fix domain name dependencies in Group Policy Objects, enter the below command.
Gpfixup /olddns:vmorecloud.com /newdns:vmorecloud.local

We renamed the databases.
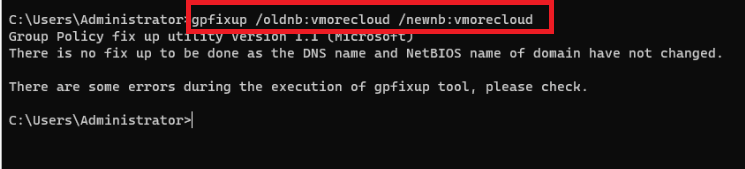
As our root domain remain the same. there is no change.
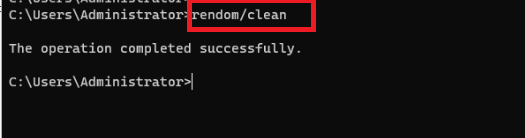
To clean up loose processes, type the following command:.
Finally, complete the process with the below command.
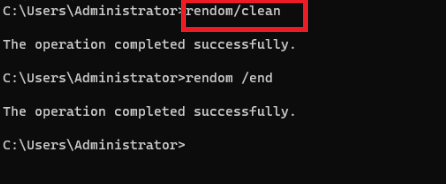
How to Verify New Domain
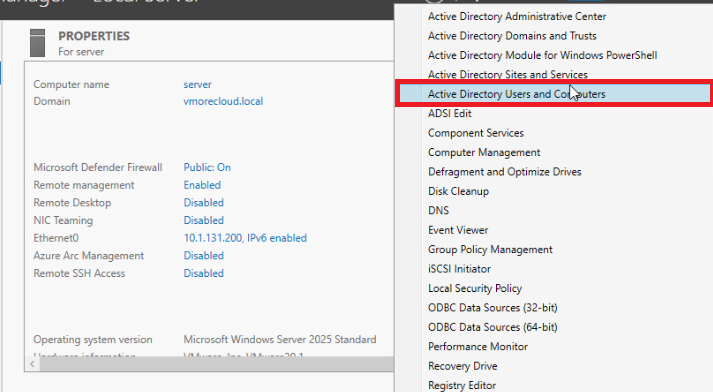
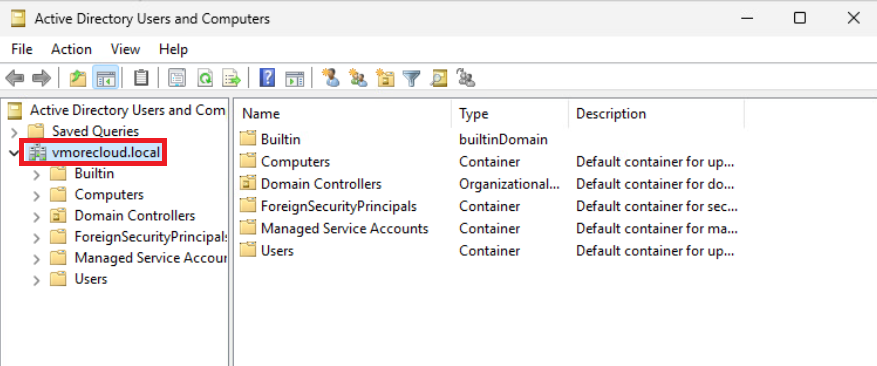
In the server manager, go to the Tools tab and open “Active Directory Users and Computers“.
Verify the new domain.
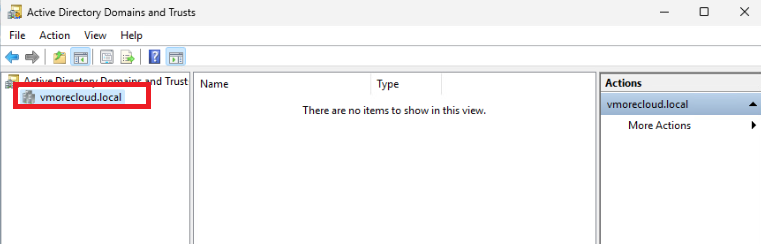
Also verify active directory domains and trusts.
This has been the method for changing the domain name in Windows Server 2022.


