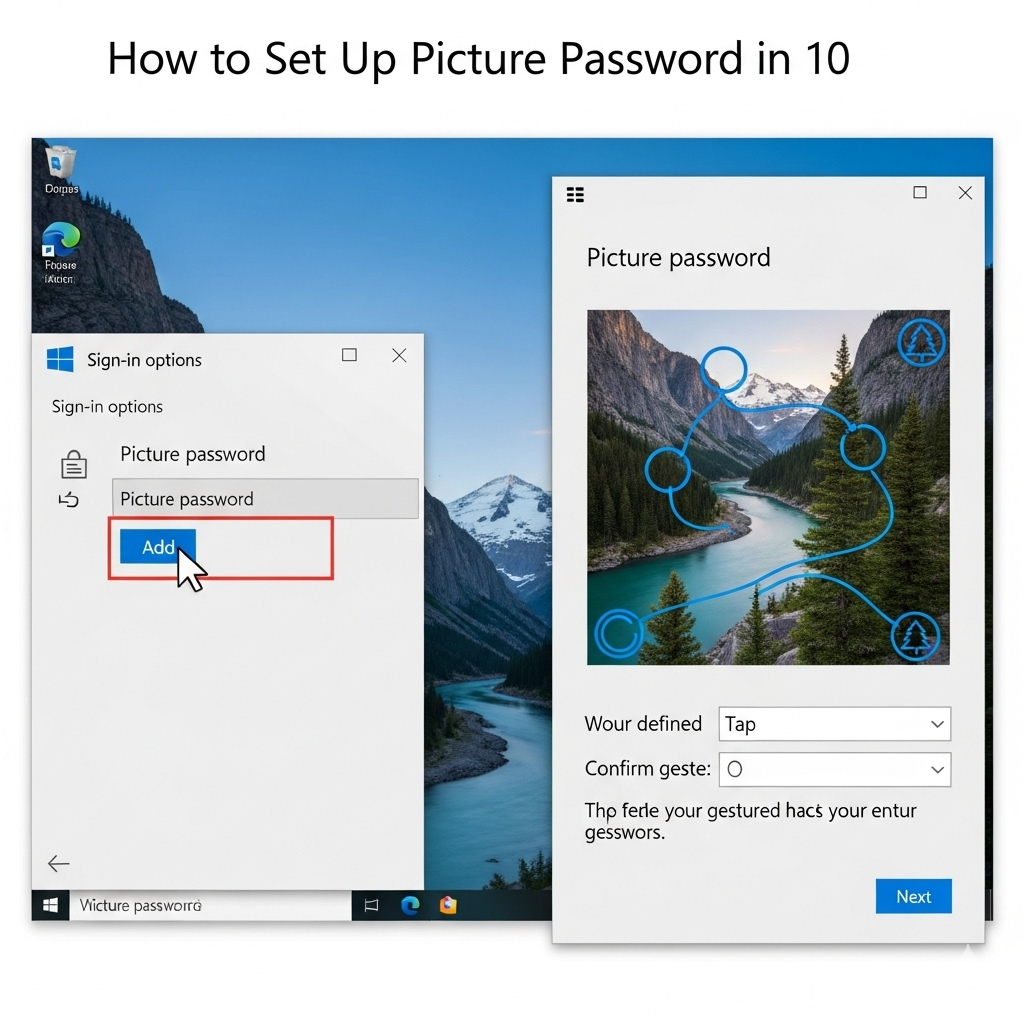
How to Set Up Picture Password in Windows 10

We’ve all been there – typing in complex passwords dozens of times a day, struggling to remember that perfect combination of letters, numbers, and symbols. What if I told you there’s a more intuitive way to secure your Windows 10 machine? Enter Picture Password, a feature that transforms any image into your personal login key.
Picture Password isn’t just about convenience; it’s about creating a security method that feels natural and personal. Instead of memorizing another string of characters, you’ll draw simple gestures on a photo that means something to you. It’s surprisingly secure and, dare I say, actually enjoyable to use.
Table of Contents
What Exactly is Picture Password?
Picture Password is a Windows 10 authentication method that combines something you know (the gestures) with something you see (your chosen image). You select any image and create three gestures – combinations of circles, straight lines, and taps – that serve as your login credentials.
The beauty lies in its simplicity. Your gestures don’t need to be perfect recreations; Windows 10 is smart enough to recognize variations in size, direction, and position. This flexibility makes it practical for daily use while maintaining robust security standards.
Why Choose Picture Password?
Enhanced Security Through Obscurity: Unlike traditional passwords that can be guessed or brute-forced, Picture Password requires knowledge of both your image and the specific gestures you’ve created. Even if someone knows your photo, they’d need to guess the exact combination and sequence of your three gestures.
Faster Login Experience: Once you’ve practiced your gestures a few times, Picture Password can be significantly faster than typing a complex password, especially on touch-enabled devices.
Reduced Password Fatigue: We’re constantly bombarded with password requirements. Picture Password offers a refreshing alternative that doesn’t add to your mental password database.
Touch-Friendly Design: If you’re using a tablet or 2-in-1 device, Picture Password shines. It’s designed with touch interfaces in mind, making it perfect for modern hybrid devices.
Step-by-Step Setup Guide
Prerequisites
Before we begin, ensure you have:
- A Windows 10 device (any edition)
- Administrator access to your account
- An image file you’d like to use (JPEG, PNG, or GIF)
- A few minutes of uninterrupted time
Step 1: Access Sign-in Options
- Click the Start button and select Settings (the gear icon)
- Navigate to Accounts → Sign-in options
- Scroll down until you see Picture password
Pro tip: You can also access this quickly by typing “sign-in options” in the Windows search bar.
Step 2: Set Up Your Current Password (If Needed)
Before setting up Picture Password, Windows requires you to have a traditional password configured. If you haven’t set one up yet:
- Click on Password in the Sign-in options
- Click Add and follow the prompts
- Create a secure password you’ll remember (this serves as your fallback option)
Step 3: Initialize Picture Password
- Under Picture password, click Add
- Windows will prompt you to verify your current password – enter it and click OK
- You’ll see the Picture Password setup wizard
Step 4: Choose Your Perfect Image
This is where personality meets security. Consider these factors when selecting your image:
Complexity is Key: Choose images with multiple distinct elements – landscapes, group photos, or detailed artwork work well. Avoid simple images with large solid colour areas.
Personal Connection: Select something meaningful to you. The more familiar you are with the image, the easier it’ll be to remember your gesture locations.
Avoid Obvious Choices: Resist using images that others might easily guess, like your profile picture or widely-shared family photos.
Click Choose picture and browse to your selected image. Windows will automatically resize it if needed.
Step 5: Create Your Three Gestures
Here’s where the magic happens. You’ll create three gestures in sequence:
Gesture Types:
- Circles: Draw clockwise or counter clockwise anywhere on the image
- Straight lines: Draw in any direction, any length
- Taps: Single touches at specific points
Best Practices:
- Mix gesture types for better security
- Use image landmarks as reference points (like a person’s eyes for taps, or tracing around objects for circles)
- Make gestures memorable but not obvious to observers
- Practice the sequence in your mind before committing
Draw each gesture deliberately. Windows will show your progress and ask you to confirm each one. Take your time – accuracy here saves frustration later.
Step 6: Confirm Your Gestures
Windows will ask you to repeat your three gestures to confirm. Don’t worry if you’re not pixel-perfect; the system accounts for natural variation. If Windows doesn’t recognize your repetition, try adjusting the size or position slightly.
Step 7: Test and Finalize
Once confirmed, Windows will show a “Congratulations!” message. Your Picture Password is now active and will appear as an option on your login screen.
The Bottom Line
Picture Password represents Microsoft’s thoughtful approach to balancing security with usability. It’s not just about replacing your password; it’s about creating a more personal, intuitive relationship with your device security.
While it won’t replace all your security needs, Picture Password serves as an excellent primary authentication method for personal devices. It’s particularly valuable for users who find traditional passwords cumbersome or for devices primarily used in trusted environments.
The setup process takes just a few minutes, but the daily convenience and personal touch it adds to your Windows 10 experience can be substantial. In our increasingly digital world, finding ways to make technology feel more human and personal isn’t just nice to have – it’s essential.


