Physical Address
304 North Cardinal St.
Dorchester Center, MA 02124
Physical Address
304 North Cardinal St.
Dorchester Center, MA 02124

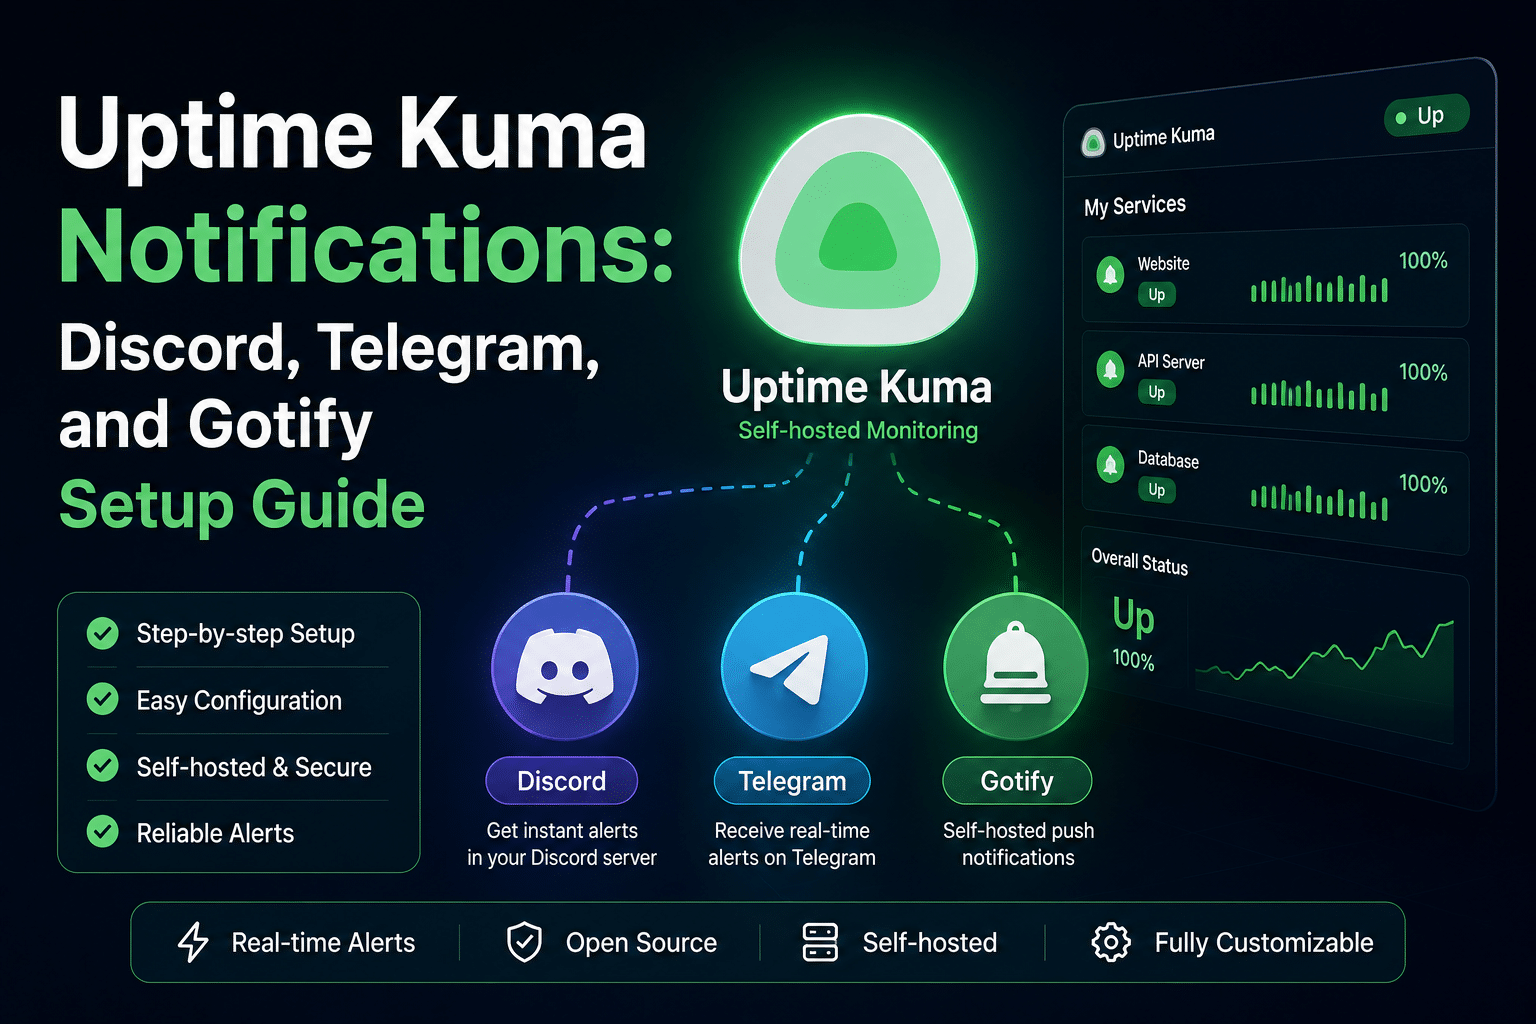
A monitor that goes down silently is worse than no monitor at all — it gives you false confidence. This handbook walks through connecting Uptime Kuma to three of the most popular notification channels: Discord, Telegram, and Gotify. Each section is self-contained, so you can jump straight to the service you want and follow it start to finish without reading the others.
Assumption: you already have Uptime Kuma installed and running, and can reach its web dashboard. If not, get that sorted first everything below happens inside Settings → Notifications.

Click here uptime kuma monitoring-tool setup guide
All three services get an alert to you the moment a monitor changes state, but they solve slightly different problems.
| Discord | Telegram | Gotify | |
|---|---|---|---|
| Best for | Teams already using Discord for chat/coordination | Personal mobile alerts, solo homelabbers | Fully self-hosted alerting, privacy-focused setups |
| Setup complexity | Low — no bot required, just a webhook URL | Low-medium — requires creating a bot via BotFather | Medium — requires running your own Gotify server first |
| Where alerts land | A Discord channel, visible to everyone with access | Your personal Telegram chat or a group | A dedicated Gotify app (web UI + mobile push app) |
| Third-party dependency | Discord (SaaS) | Telegram (SaaS) | None — 100% self-hosted if you self-host Gotify |
| Good fit if… | You want alerts visible to a team and discussable in-channel | You want push notifications on your phone with minimal setup | You don’t want any monitoring data touching a third-party service |
A quick decision guide:
None of these are mutually exclusive — Uptime Kuma lets you attach multiple notification channels to the same monitor, and many self-hosters run two channels in parallel (see Best Practices below).
Terminology check before we start: a webhook is just a URL that, when you send data to it, triggers an action somewhere else — in Discord’s case, posting a message into a channel. A bot token is a secret credential that lets an application (like Uptime Kuma) act as an automated account on a platform like Telegram. Treat both like passwords: anyone who has one can send messages as you.
You need:
#uptime-alerts. Keeping alerts out of your general chat channels prevents them from getting buried or annoying people who don’t need to see them.No bot creation or Discord Developer Portal work is required for this method — Discord’s webhook system handles the whole thing without you writing any code.
https://discord.com/api/webhooks/1234567890123456789/AbCdEfGhIjKlMnOpQrStUvWxYz1234567890abcdefghij
Save this somewhere temporarily (a password manager, not a plain text file left lying around) — you’ll paste it into Uptime Kuma in the next step. Anyone with this URL can post messages into your channel, so don’t share it or commit it to a public repo.
| Field | What to enter |
|---|---|
| Friendly Name | Any label for your own reference, e.g. “Discord — Ops Alerts” |
| Discord Webhook URL | The URL you copied in Step 2 |
| Bot Display Name | The name shown as the message sender in Discord (can differ from what you set when creating the webhook) |
| Prefix Custom Message | Optional — text prepended to every alert, useful for @here or @role mentions to ping people on critical alerts |
Click the Test button before saving. A successful test sends an immediate message to your configured Discord channel — something like “Uptime Kuma Alert: Testing Successful.” If that message shows up, click Save and you’re done. If nothing arrives within a few seconds, don’t save yet — go to Troubleshooting below.
| Problem | Cause | Fix |
|---|---|---|
| Test button shows an error immediately | Malformed or incomplete webhook URL | Re-copy the full URL from Discord — a truncated URL (missing part of the token) is the most common cause |
| Test succeeds but no message appears in Discord | Webhook is pointed at a different/wrong channel, or the channel is muted (message still exists, but you didn’t notice) | Check the channel dropdown in the webhook settings in Discord matches where you’re looking |
| “401 Unauthorized” or “404 Not Found” error | The webhook was deleted or regenerated in Discord after you copied the URL | Go back into Discord’s Integrations → Webhooks, generate a fresh URL, update it in Uptime Kuma |
| Messages arrive late or not at all during an outage | Discord rate-limiting (rare, but possible if you have many monitors alerting simultaneously) | Consolidate monitors into fewer, broader checks where possible, or spread notification channels across multiple webhooks |
| Formatting looks broken (raw markdown showing) | Not a common issue with Kuma’s default Discord formatting, but custom prefix text with unescaped special characters can occasionally look off | Keep prefix text simple; avoid unmatched *, _, or backtick characters |
You need:
Telegram bots have one quirk that trips up beginners: a bot cannot message you first. You have to send it at least one message before Uptime Kuma can post alerts to that chat. This is a spam-prevention measure built into Telegram, not a bug — just something to do in Step 2.
Create the bot:
/newbotbot, e.g. MyServerAlertsBot).Use this token to access the HTTP API:123456789:ABCdefGhIJKlmNOPqrsTUVwxyz12345678Find your Chat ID:
/start or just “hello” works fine.https://api.telegram.org/bot<YOUR_TOKEN>/getUpdates in a browser (replace <YOUR_TOKEN> with your actual bot token). You’ll see a JSON response — find the "chat": { "id": ... } field. That number is your Chat ID.| Field | What to enter |
|---|---|
| Friendly Name | Any label, e.g. “Telegram — Personal” |
| Bot Token | The token from BotFather |
| Chat ID | Click Auto Get, or paste the ID you found manually |
| Message Thread ID | Optional — only relevant if posting into a specific topic within a Telegram forum-style group |
Click Test. A successful test delivers a message from your bot directly into the Telegram chat you configured — you’ll see it appear in the app within a second or two. If it arrives, click Save.
| Problem | Cause | Fix |
|---|---|---|
| “Auto Get” returns nothing / empty Chat ID | You haven’t sent the bot a message yet, or Telegram hasn’t registered it | Send /start to the bot in the Telegram app, wait a few seconds, click Auto Get again |
| Test fails with “chat not found” | Wrong Chat ID, or the bot was never messaged in that specific chat | Re-check the ID against the getUpdates JSON response; make sure you’re looking at the right chat if you have multiple |
| Test fails with “Unauthorized” (401) | Bot token is incorrect or was regenerated | In BotFather, send /mybots, select your bot, then API Token → Revoke current token if needed, and update Uptime Kuma with the new one |
| Notifications arrive in the wrong chat | Chat ID belongs to a different conversation than expected (e.g., you tested in a group, then grabbed the ID from a DM) | Re-run the getUpdates check right after messaging the specific chat you want alerts sent to |
Bot doesn’t respond to /start at all | Rare — sometimes a brand-new bot takes a minute to propagate on Telegram’s side | Wait 1–2 minutes and retry; if it persists, verify the bot wasn’t accidentally deleted via BotFather’s /deletebot |
Gotify is different from the other two: it’s a notification server you host yourself, so before touching Uptime Kuma you need a running Gotify instance. If you don’t have one yet, the quickest path is Docker:
docker run -d \
  --name gotify \
  -p 8080:80 \
  -v /opt/gotify/data:/app/data \
  gotify/server
Once running, log into the Gotify web UI (default http://your-server-ip:8080) with the admin credentials set during first launch. You’ll also want the Gotify mobile app (Android/iOS) or desktop client if you want push notifications outside the browser — install it and log in with the same server address and credentials.
Gotify organizes notifications by “Application” — each application gets its own token, so different tools (Uptime Kuma, other scripts, etc.) can be told apart in your notification feed.
AXcdEFghIJklMNo| Field | What to enter |
|---|---|
| Friendly Name | Any label, e.g. “Gotify — Homelab” |
| Server URL | Your Gotify server’s address, e.g. http://gotify.yourdomain.com or http://192.168.1.50:8080 |
| Application Token | The token copied in Step 2 |
| Priority | Optional, 0–10. Higher priority messages are visually emphasized in the Gotify app; a common pattern is 5 for standard alerts and 8–10 for critical monitors |
Note on ports: if your Gotify server runs on a non-default port (anything other than the standard HTTP/HTTPS ports), make sure the port is included in the Server URL field (e.g., http://192.168.1.50:8080, not just the IP). Leaving it off is one of the most common causes of connection failures with Gotify specifically, since Gotify has no default port convention the way some other services do. </blockquote>
Click Test. A successful test pushes a notification into the Gotify application you created — check the Gotify web UI’s Messages view, or your phone if you have the mobile app installed and are subscribed. If it shows up, click Save.
| Problem | Cause | Fix |
|---|---|---|
| Connection timeout / ETIMEDOUT error | Server URL missing the correct port, or a firewall blocking the connection between Uptime Kuma and Gotify | Confirm the full URL including port; if Kuma and Gotify are both in Docker, verify they’re on a shared network or that the host firewall allows the connection |
| “401 Unauthorized” | Wrong or revoked application token | Regenerate the token in Gotify (delete and recreate the application, or check if it was manually deleted), update Uptime Kuma |
| Test succeeds in Uptime Kuma but no push notification on phone | Mobile app isn’t subscribed to that specific application, or notifications are disabled at the OS level | Open the Gotify app, confirm the application appears and is enabled; check your phone’s OS-level notification permissions for the Gotify app |
| Messages appear in the web UI but never as a push | Gotify’s WebSocket connection from the mobile app has dropped (common after long idle periods or network changes) | Force-close and reopen the Gotify mobile app to re-establish the connection |
| Server URL works in a browser but not from Uptime Kuma | Uptime Kuma is running inside Docker and using localhost/127.0.0.1, which inside a container refers to the container itself, not the host | Use the Gotify container’s service name (if on the same Docker network) or the host’s LAN IP instead of localhost |
Running two channels in parallel is a legitimate and common pattern — not redundancy for its own sake, but insurance against a single point of failure. If Discord has an outage, or your phone is on airplane mode, a second channel (say, Gotify running on your own infrastructure) still gets through. A reasonable default:
The fastest way to make alerts useless is to get so many that you start ignoring them. A few concrete steps:
| Service | Suggested use | Suggested retry/threshold |
|---|---|---|
| Discord | Team-visible alerts, non-urgent-but-important | 2–3 retries before alerting; no need for silent/priority tuning |
| Telegram | Personal, time-sensitive alerts | 1–2 retries; use Send Silently for low-priority monitors so it doesn’t wake you at 3 AM for something that self-recovers |
| Gotify | Self-hosted infrastructure alerts, especially anything Discord/Telegram depend on (e.g., your own reverse proxy or DNS) | Set Priority high (8–10) for anything that would also take down your other notification paths — this is your fallback channel, so treat it as the one that has to work |
Once one of these is working, adding a second is largely repeating the same three steps (credential → configure → test) with a different provider the pattern is consistent across all 90+ notification types Uptime Kuma supports, not just the three covered here.

We have detected that you are using extensions to block ads. Please support us by disabling these ads blocker.