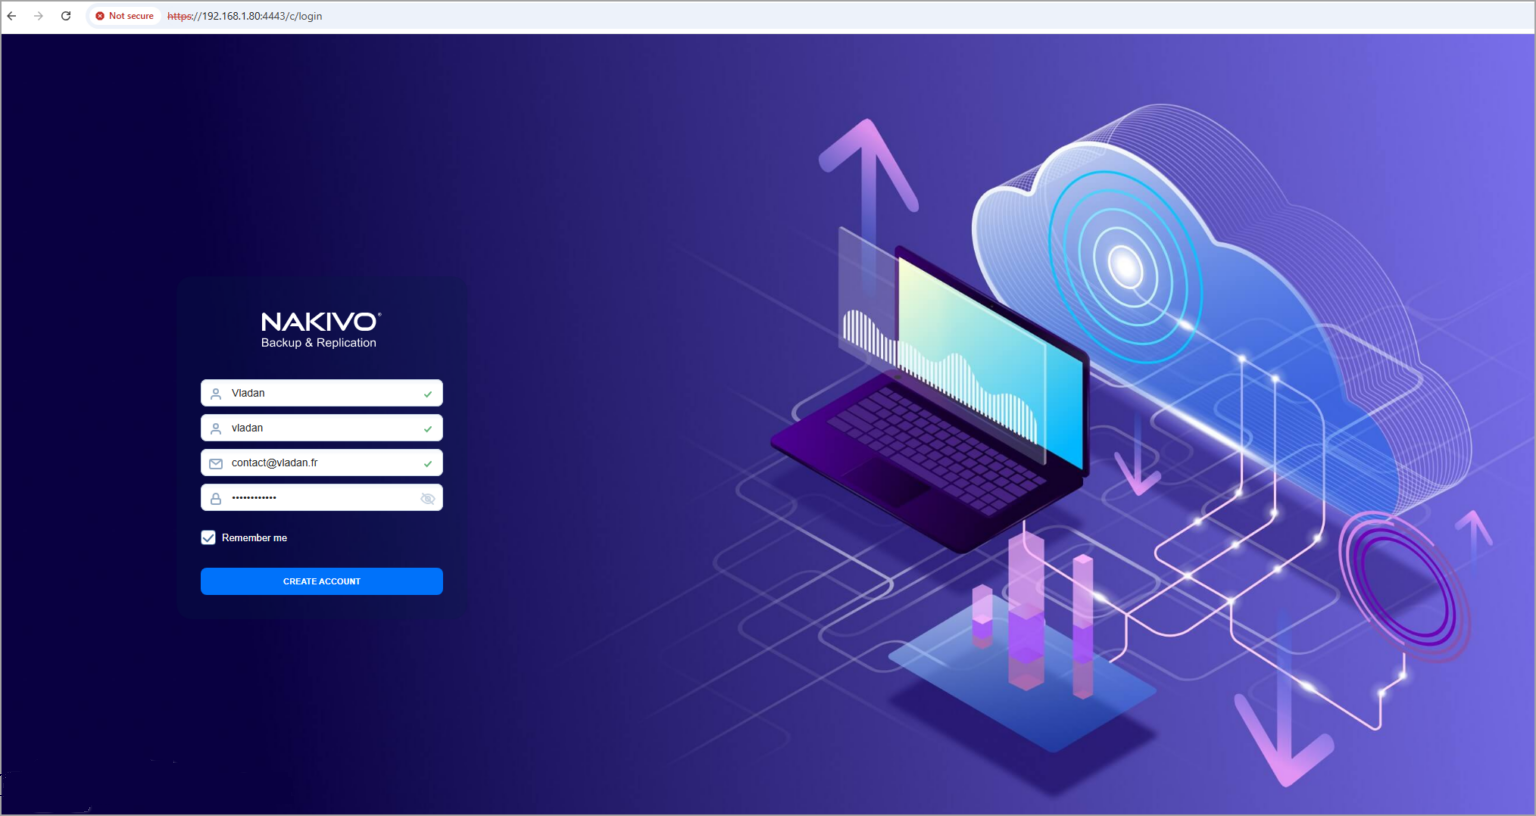
Nakivo Backup and Replication is a data protection solution for virtual, physical and cloud environment that our readers knows well. For new people that has just discovered our blog, here is our first back to basis article where we’ll deploy the solution in our lab environment, configure the basics and run our first backup. As you might know, Nakivo is one of the last vendors where you can shop perpetual licenses, however, if you prefer subscription, you can have it too of course.
Nakivo can be deployed on physical host or as a virtual appliance (VM) on VMware or Nutanix. You can install it on Windows, Linux or install the application on some selected NAS hardware directly (QNAP, Synology, Asustor and others…). The virtual appliance is based on hardened Ubuntu Linux. All you have to do is to configure the networking (via console) and connect tot he web UI through a web browser. All the other configuration, management and monitoring is done via the web based UI that we like so much because it is fast and responsive.
You can deploy the Nakivo OVA through vCenter server or via ESXi host (web client). Nothing more simple. Select your host > Actions > Deploy OVF Template.

Then just follow the assistant, select the storage, network etc. Routine job. Once done, start the VM and go to the console.
The console looks like this…
You should assign a static IP to the VM, enter the DNS details, and configure the time zone. It is pretty easy to do job through the console.

Once done, you can launch the web UI by entering the IP as the URL.
When launching for the first time, just enter the IP address you have configured in the console. You get a nice window prompting you to create an account.
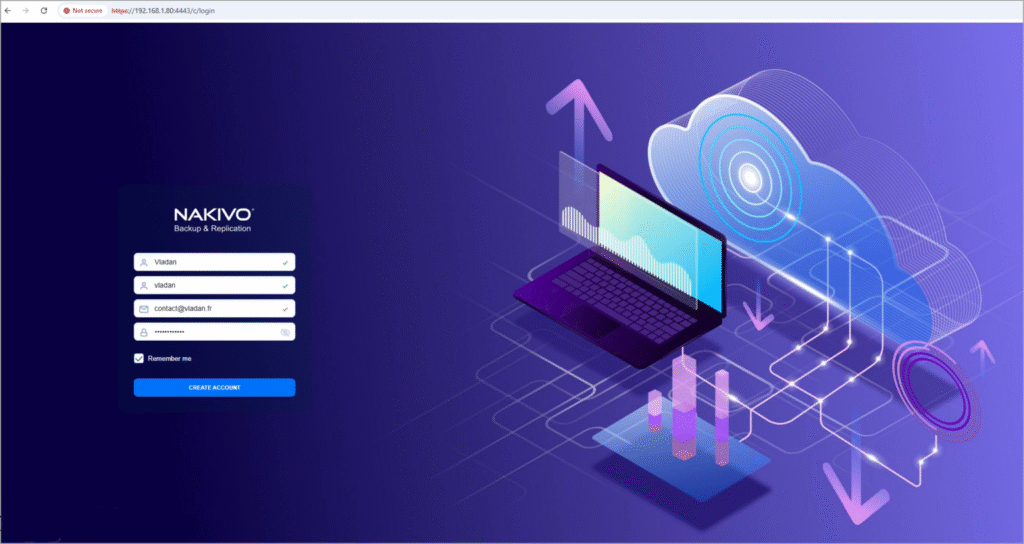
After the first connection, you are taken to this screen where you can continue the configuration. I have done a short vide which shows the steps. The video shows just the basics:
- Create an account in the backup server
- Connect via web browser
- Add vCenter server
- Configure the first backup (with immutability)
- Run the backup job
Nakivo Backup and Replication is very intuitive. We’ll see it in our other videos that I’ll make, but this start video is just to get you started. As you could see, the setup takes just a few minutes. Out of the box, there is also the configuration backup which I don’t talk in the video, but this is something we will look at as it can save you a lot of time when needing to move to a new backup server and restore the configuration.
Nakivo has now also a localization languages which makes it interesting for non English speaking countries. The now supports additional languages, including French, German, Italian, Polish, and Chinese, in addition to full support for English and Spanish.
Trial download here.
Final Words
Nakivo Backup and replication is multi platform, you can install it pretty much everywhere so it’s very flexible. It has a nice UI which is very fast. It has most of the security features that are necessary to fight ransomware and stay protected. Version 10.9 extends the anti-ransomware capabilities of NAKIVO Backup & Replication with the Backup Malware Scan feature to help organizations ensure recovery of clean data. (Note: not all editions offer this feature so check the editions before you make your move). NAKIVO Backup & Replication supports a wide range of hypervisors and environments to ensure comprehensive data protection. Here are the supported platforms:
Hypervisors
- VMware vSphere: Versions from v5.5 to v8.0d
- Microsoft Hyper-V: Versions from 2012 to 2022, including Server Core installations
- Nutanix AHV: Versions from v6.5 (LTS) to v6.10 (LTS)
- Proxmox VE: Version 8.x
Environments
- Physical Machines: Windows and Linux servers and workstations
- Public Cloud: Amazon EC2, Microsoft Azure, Google Cloud Platform, and other cloud providers
- File Shares: NFS, SMB (1.x, 2.x, 3.x)
- Databases: Oracle Database (RMAN), Microsoft SQL Server, Microsoft Exchange, Microsoft SharePoint, Microsoft Teams
- Microsoft 365: Exchange Online, OneDrive for Business, SharePoint Online, Teams
