Introduction
Virtualization has become an integral part of modern computing, allowing users to run multiple operating systems on a single machine. VMware Workstation, a popular virtualization solution, offers a seamless way to create and manage virtual machines on various platforms, including Linux. In this comprehensive guide, we’ll walk you through the step-by-step process of installing VMware Workstation on a Linux system
Prerequisites
Before diving into the installation process, ensure that your Linux system meets the following prerequisites:
- Compatibility Check:
- Verify that your Linux distribution is supported by VMware Workstation. Popular distributions like Ubuntu, Fedora, and CentOS are generally compatible.
- System Requirements:
- Ensure your system meets the hardware requirements specified by VMware, including sufficient RAM, disk space, and processor capabilities.
- Kernel Headers and Development Packages:
- Install the kernel headers and development packages for your Linux distribution. This is crucial for VMware Workstation to compile kernel modules during installation.
Step 1: Download VMware Workstation
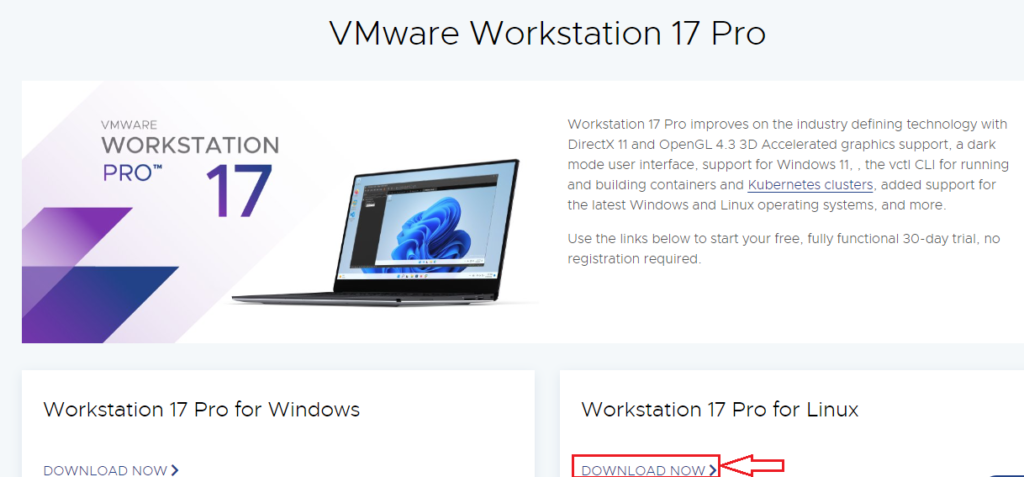
Visit the VMware Website:
- Open your web browser and navigate to the official VMware website.
Select VMware Workstation
Choose the VMware Workstation product from the list of available product.

Download the Installer
Click on the download button to obtain the installer file. Ensure you select the appropriate version for Linux. You can also download the setup file from this link. Once the download is complete, start unzip it. This setup is password protected. Type this command to unzip it sudo unrar -P www.vmorecloud.com <file name.rar>.
This command will unzip password protected file.

Step 2: Make the Installer Executable
Open Terminal:
Launch the terminal on your Linux system. Navigate to the Download Directory. Use the cd command to navigate to the directory where the VMware Workstation installer is downloaded.
Run the following command to make the installer executable
chmod +x VMware-Workstation-*.bundle

Step 3: Run the Installer
Execute the Installer
Run the installer using the following command
sudo ./VMware-Workstation-*.bundle

Follow the Installation Wizard
The installation wizard will guide you through the process. Follow the on-screen prompts to configure installation settings.
Step 4: Enter License Key (if applicable)
Input License Key
If you have a license key, enter it when prompted. Otherwise, proceed with the trial version.
Step 5: Complete the Installation
Finish Installation:
Once the installation is complete, follow any additional instructions provided by the installer.
Launch VMware Workstation:
Start VMware Workstation using the desktop shortcut or the terminal.

Review the license agreement and check the option I accept the terms in the license agreement. Then, click Next to continue.

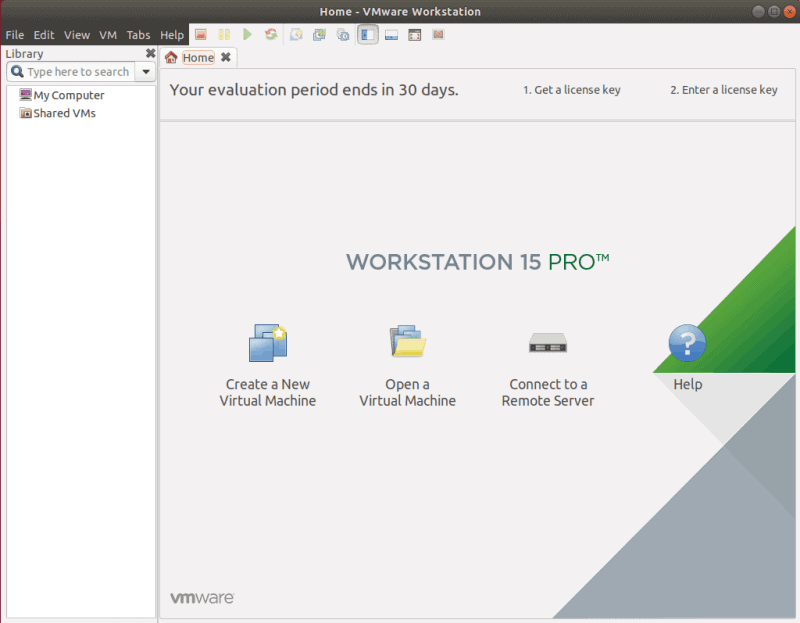
Before you land on VMware Workstation’s Home window, it will ask you to enter a license key try the software for 30 days for free.

Once this is selected, it will open VMware Workstation and you can start creating and managing VMs.

Conclusion
Congratulations! You’ve successfully installed VMware Workstation on your Linux system. With this powerful virtualization tool at your disposal, you can create, manage, and run virtual machines seamlessly, enhancing your computing experience on the Linux platform. Remember to consult the official documentation or support resources for specific issues related to your Linux distribution. Happy virtualizing!


