Physical Address
304 North Cardinal St.
Dorchester Center, MA 02124
Physical Address
304 North Cardinal St.
Dorchester Center, MA 02124

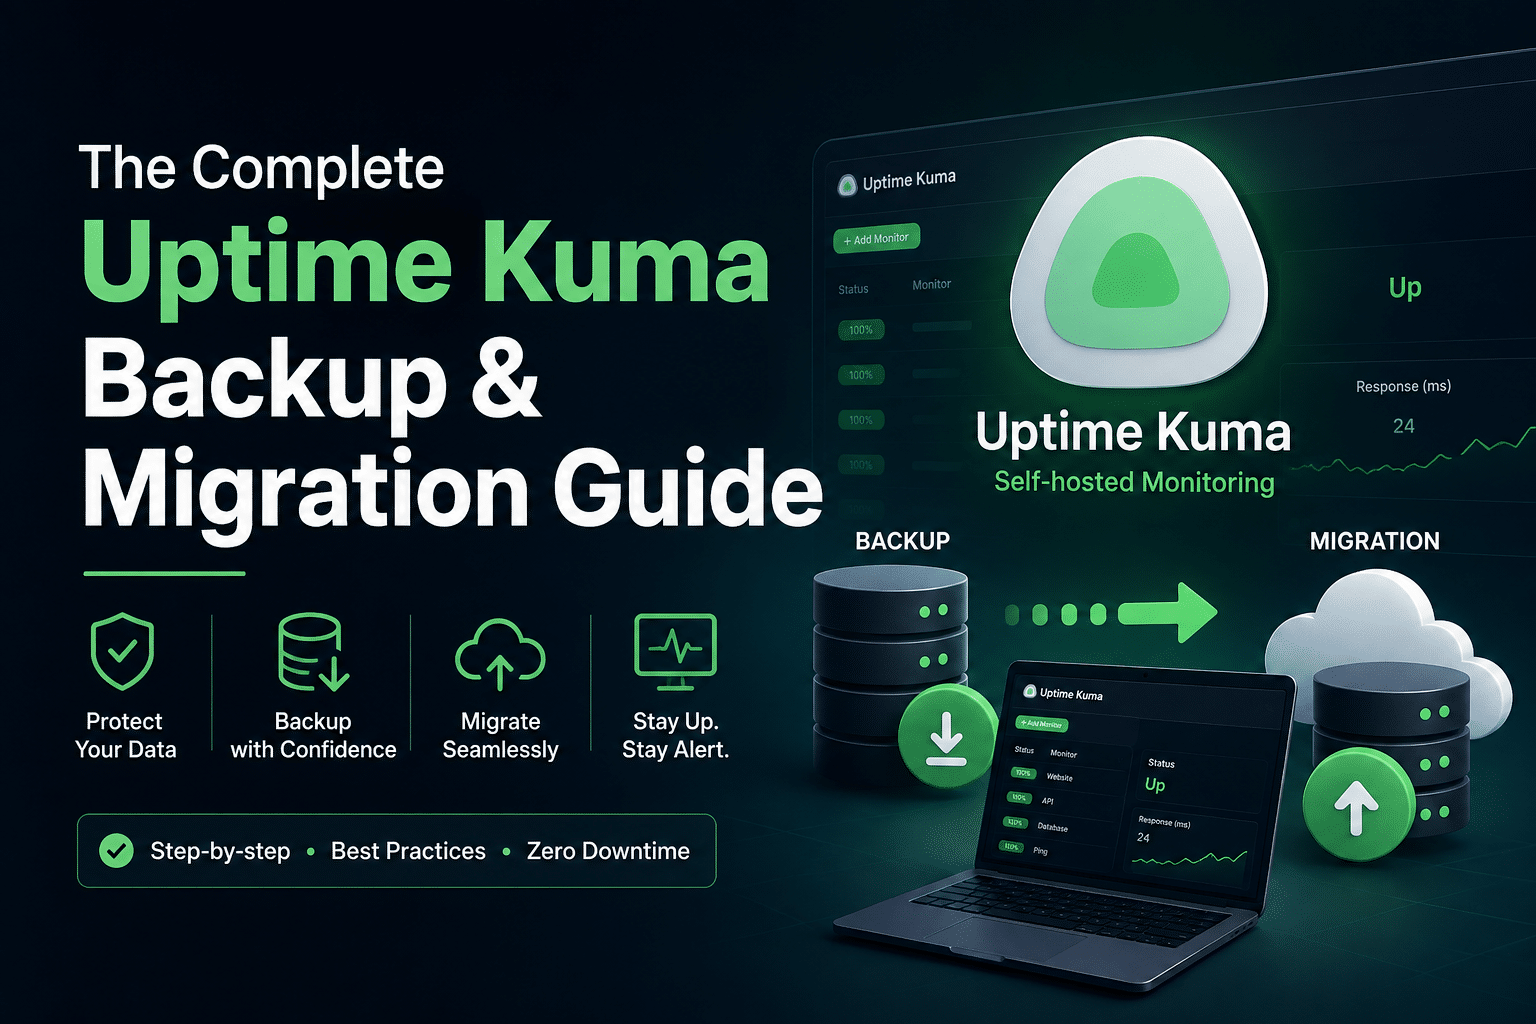
Uptime Kuma Backup & Migration refers to the process of securely saving your Uptime Kuma monitoring configuration and moving it to another server, system, or environment when needed. A proper backup preserves important data such as monitors, notification settings, status pages, authentication settings, and other application configurations. Migration allows you to restore this information on a new server without having to recreate everything manually. This is especially useful when upgrading hardware, moving from one VPS to another, changing hosting providers, or preparing for disaster recovery. In simple terms, backup protects your Uptime Kuma setup, while migration helps you move that setup safely to a new environment.
Everything Uptime Kuma needs to run lives inside one directory the data directory, controlled by the DATA_DIR environment variable and defaulting to ./data on the host (mounted to /app/data inside the container). There is no external database, no separate config service, nothing hiding elsewhere. That’s good news for backups: back up one directory correctly, and you have the whole instance.
| File / path | What it contains | Why it matters |
|---|---|---|
kuma.db | Primary SQLite database — monitors, notification channels (including tokens/credentials), users and password hashes, 2FA secrets, status pages, tags, proxies, maintenance windows, API keys | This is the instance. Lose it, lose everything. |
kuma.db-wal | SQLite Write-Ahead Log — recent transactions not yet committed to kuma.db | If you copy kuma.db without this file mid-write, the copy can be missing recent changes or be inconsistent. |
kuma.db-shm | Shared memory index for the WAL file | Needed alongside kuma.db-wal for a consistent raw file copy. |
upload/ | Uploaded images — status page logos, custom favicons | Cosmetic but embarrassing to lose on a public status page. |
certs/ (if present) | Any manually placed TLS material used by the app itself | Rare in typical setups where a reverse proxy handles TLS. |
Heartbeat/response-time history technically lives in kuma.db too, in the heartbeat and aggregate statistics tables. It’s backed up along with everything else by definition — but if you’re ever forced into a “rebuild monitors from scratch” scenario, understand that historical uptime graphs are what you lose; the monitors, notification setup, and status pages are what you’re actually protecting. <blockquote>
⚠️ On the old “Export Backup” JSON feature
Uptime Kuma v1 had a Settings → Backup → Export/Import feature that produced a JSON file of monitors, notifications, and settings. As of v2, this feature has been removed — the officially supported backup method is copying the full data directory described above. If you’re still running v1, the JSON export is available, but note it excludes the heartbeat/history tables and any uploaded images, so don’t treat it as a full backup even there. </blockquote>
Click here to uptime kuma monitoring tool setup guide
docker-compose.yml in ways that touch volumes.The simplest, most reliable method: stop the container, copy the data directory, start it back up. Downtime is typically a few seconds.
# Navigate to your Uptime Kuma project directory
cd /opt/uptime-kuma

# Stop the stack cleanly (flushes WAL to the main db file)
docker compose down

# Create a timestamped, compressed backup
tar -czvf uptime-kuma-backup-$(date +%Y%m%d-%H%M%S).tar.gz ./data

# Bring it back up
docker compose up -d
For a bare-metal (non-Docker) install, the same principle applies — stop the server/server.js process (or pm2 stop uptime-kuma), then tar the data directory:
pm2 stop uptime-kuma
tar -czvf uptime-kuma-backup-$(date +%Y%m%d-%H%M%S).tar.gz /path/to/uptime-kuma/data
pm2 start uptime-kuma
Why stop the container first? SQLite’s WAL mode means recent writes may sit in kuma.db-wal rather than kuma.db itself. A clean shutdown flushes the WAL into the main database file, so a straightforward file copy afterward is guaranteed consistent. Skipping this step is the #1 cause of “my backup won’t restore” support requests.
If a few seconds of downtime is unacceptable, use SQLite’s own backup API instead of copying the raw files while the database is live. This produces a transactionally consistent snapshot without stopping the container.
# Run this from the host, targeting the data directory used by the container
sqlite3 /opt/uptime-kuma/data/kuma.db ".backup '/opt/uptime-kuma/backups/kuma-$(date +%Y%m%d-%H%M%S).db'"

# Then archive the rest of the data directory (upload/ folder, etc.) separately
tar -czvf uptime-kuma-assets-$(date +%Y%m%d-%H%M%S).tar.gz \
  --exclude='*.db' --exclude='*.db-wal' --exclude='*.db-shm' \
  /opt/uptime-kuma/data
If sqlite3 isn’t installed on the host, run it inside the container instead:
docker exec uptime-kuma sh -c "sqlite3 /app/data/kuma.db '.backup /app/data/kuma-hotbackup.db'"
docker cp uptime-kuma:/app/data/kuma-hotbackup.db ./kuma-hotbackup-$(date +%Y%m%d).db
docker exec uptime-kuma rm /app/data/kuma-hotbackup.db
<blockquote>
⚠️ Never cp or rsync kuma.db alone while the container is running. Without the matching .backup API call, you risk copying the file mid-write or missing the WAL contents entirely — a backup that looks fine and fails silently on restore. </blockquote>
A production-safe daily backup script with rotation:
#!/usr/bin/env bash
# /opt/scripts/kuma-backup.sh
set -euo pipefail

KUMA_DIR="/opt/uptime-kuma"
BACKUP_DIR="/opt/backups/uptime-kuma"
RETAIN_DAYS=14
TIMESTAMP=$(date +%Y%m%d-%H%M%S)
ARCHIVE="$BACKUP_DIR/kuma-backup-$TIMESTAMP.tar.gz"

mkdir -p "$BACKUP_DIR"

# Hot backup of the database via SQLite's backup API (no downtime)
docker exec uptime-kuma sh -c "sqlite3 /app/data/kuma.db '.backup /app/data/kuma-cronbackup.db'"

# Pull the consistent db copy + everything else out of the container's mounted volume
tar -czvf "$ARCHIVE" \
  -C "$KUMA_DIR/data" . \
  --transform "s|kuma.db\$|kuma.db.original|" 2>/dev/null || \
tar -czvf "$ARCHIVE" -C "$KUMA_DIR/data" .

docker exec uptime-kuma rm -f /app/data/kuma-cronbackup.db

# Verify the archive isn't corrupt before trusting it
if ! tar -tzf "$ARCHIVE" > /dev/null; then
  echo "ERROR: backup archive failed integrity check: $ARCHIVE" >&2
  exit 1
fi

# Rotate old backups
find "$BACKUP_DIR" -name "kuma-backup-*.tar.gz" -mtime +"$RETAIN_DAYS" -delete

echo "Backup complete: $ARCHIVE ($(du -h "$ARCHIVE" | cut -f1))"
Make it executable and schedule it:
chmod +x /opt/scripts/kuma-backup.sh
crontab -e
# Daily at 2:15 AM
15 2 * * * /opt/scripts/kuma-backup.sh >> /var/log/kuma-backup.log 2>&1
See Section 7 for using Uptime Kuma itself (via a Push monitor) to alert you if this cron job stops running a nice closed loop.
If you use a bind mount (./data:/app/data), the data is just a normal directory on the host the manual and cron methods above apply directly, no extra steps.
If you use a named Docker volume instead of a bind mount:
services:
  uptime-kuma:
    image: louislam/uptime-kuma:2
    volumes:
      - uptime-kuma-data:/app/data
volumes:
  uptime-kuma-data:
…you can’t tar it directly from the host filesystem. Use a throwaway helper container to access the volume:
docker run --rm \
  -v uptime-kuma-data:/data:ro \
  -v "$(pwd)/backups":/backup \
  alpine tar czf /backup/kuma-volume-backup-$(date +%Y%m%d).tar.gz -C /data .
This mounts the named volume read-only into a disposable Alpine container, archives it, and writes the result to your current directory without touching the running Kuma container at all.
Rootless image note: Uptime Kuma’s rootless Docker images run as a non-root UID inside the container. If you restore a backup taken from a root-based image into a rootless container (or vice versa), you may hit permission errors on kuma.db. Check ownership after restore:
docker exec uptime-kuma ls -la /app/data
# If ownership looks wrong relative to the container's expected UID:
docker exec -u root uptime-kuma chown -R node:node /app/data
For off-site backups, pair the local archive step above with either rclone (simple sync) or restic (versioned, encrypted, deduplicated). Restic is the better choice for anything you care about it encrypts backups client-side and only uploads changed blocks.
Using restic (recommended):
# One-time setup
export RESTIC_REPOSITORY="s3:https://s3.amazonaws.com/your-bucket-name/uptime-kuma"
export AWS_ACCESS_KEY_ID="your-access-key"
export AWS_SECRET_ACCESS_KEY="your-secret-key"
export RESTIC_PASSWORD="a-strong-encryption-passphrase"

restic init

# Add to the cron script above, after the local archive step:
restic backup "$ARCHIVE" --tag uptime-kuma

# Retention policy: keep 7 daily, 4 weekly, 6 monthly snapshots
restic forget --keep-daily 7 --keep-weekly 4 --keep-monthly 6 --prune
Using rclone (simpler, unencrypted unless you configure a crypt remote):
# One-time: rclone config, create a remote named "s3backup"
rclone copy "$ARCHIVE" s3backup:your-bucket-name/uptime-kuma/ --progress
<blockquote>
⚠️ These archives contain secrets. kuma.db includes notification channel tokens (Discord/Slack/Telegram webhook URLs, SMTP credentials) and user password hashes. Treat backup archives local and cloud with the same access control you’d give production credentials. Use restic’s encryption or an S3 bucket with server-side encryption and strict IAM policy, not a public or loosely-shared bucket. </blockquote>
| Method | Downtime | Consistency guarantee | Best for | Complexity |
|---|---|---|---|---|
| Manual stop-and-copy | ~5–30 sec | High (clean shutdown flushes WAL) | Pre-upgrade backups, one-off snapshots | Low |
Live .backup (SQLite API) | None | High (transactional snapshot) | Daily automated backups on a live instance | Medium |
| Raw file copy while running | None | Low — do not use | N/A | N/A |
| Cron + local rotation | None | High (if using .backup) | Ongoing operational backups | Medium |
| Named volume via helper container | None (read-only mount) | High | Docker deployments using named volumes | Medium |
| Restic → S3 | None | High + encrypted + versioned | Off-site/disaster recovery, compliance | Medium–High |
| Rclone → S3 | None | High (not encrypted by default) | Simple off-site copy, less sensitive setups | Low |
An untested backup is a hope, not a backup. Verify on two levels: integrity of the file, and restorability of the instance.
Run SQLite’s built-in integrity check against any backup copy before trusting it:
sqlite3 kuma-backup.db "PRAGMA integrity_check;"
# Expected output: ok
Also confirm the file isn’t a zero-byte or truncated copy:
sha256sum kuma-backup.db
ls -lh kuma-backup.db   # should be a plausible size, not 0 bytes
For tarball backups, verify the archive is readable without extracting it:
tar -tzf uptime-kuma-backup-20260810.tar.gz > /dev/null && echo "Archive OK"
This is already built into the cron script in Section 2.3 — it will fail loudly (exit 1, logged) rather than silently produce a broken backup.
Integrity checks catch corruption. They don’t catch “I forgot to include the upload folder” or “the volume mapping is wrong.” Periodically monthly is a reasonable cadence for most home lab / small business setups do a real restore into an isolated environment:
mkdir -p /tmp/kuma-restore-test
tar -xzvf uptime-kuma-backup-20260810.tar.gz -C /tmp/kuma-restore-test

docker run -d --name kuma-restore-test \
  -p 3002:3001 \
  -v /tmp/kuma-restore-test/data:/app/data \
  louislam/uptime-kuma:2

# Visit http://your-host:3002 — log in with your real credentials,
# confirm monitors, notifications, and status pages are all present.

# Clean up afterward
docker rm -f kuma-restore-test
rm -rf /tmp/kuma-restore-test
If this test container comes up cleanly, shows your real monitor list, and your login works, your backup pipeline is proven end-to-end not just “the file exists.”
In every scenario below, the underlying principle is the same: stop the source, move the data directory intact, start the destination pointed at that data directory. The scenarios differ in what else changes around that core operation.
cd /opt/uptime-kuma

# 1. Back up first — non-negotiable before a version bump
docker compose down
tar -czvf pre-upgrade-backup-$(date +%Y%m%d).tar.gz ./data

# 2. Update the image tag in docker-compose.yml, e.g.
#    image: louislam/uptime-kuma:1  ->  image: louislam/uptime-kuma:2

# 3. Start it back up and WATCH THE LOGS
docker compose up -d
docker compose logs -f uptime-kuma
<blockquote>
⚠️ v1 → v2 specifically: the first startup on v2 triggers an automatic database migration that re-aggregates heartbeat history into a new format. This can take anywhere from a few minutes to over an hour depending on monitor count and history depth. Do not stop the container while the migration is running. If it’s interrupted, the only supported recovery is restoring the pre-upgrade backup and retrying. Watch docker compose logs -f until you see the migration complete and the normal startup banner. </blockquote>
For a fresh install replacing an existing one on the same box (e.g., recovering from a botched config), just point the new container at the restored data directory instead of an empty one — see Section 5.
# On the OLD server
cd /opt/uptime-kuma
docker compose down
tar -czvf kuma-migration.tar.gz ./data

# Transfer to the new server (pick one)
scp kuma-migration.tar.gz user@new-server:/opt/uptime-kuma/
# or
rsync -avz ./data user@new-server:/opt/uptime-kuma/data/

# On the NEW server
mkdir -p /opt/uptime-kuma
cd /opt/uptime-kuma
tar -xzvf kuma-migration.tar.gz
# Recreate the same docker-compose.yml used on the old server
docker compose up -d
Verify the image tag on the new server matches (or is newer than) the old server’s — starting an older Kuma version against a database written by a newer version is unsupported and can corrupt the schema.
Because Docker abstracts the underlying OS and SQLite database files are architecture/OS-portable, a Linux distro → different Linux distro migration is functionally identical to 4.2 — Debian to Fedora, Ubuntu to Alpine host, etc. all just work once Docker is installed on the target.
Linux → Windows (Docker Desktop):
# On Windows, after installing Docker Desktop, extract the transferred archive to e.g.
# C:\uptime-kuma\data

# docker-compose.yml volume line becomes a Windows-style bind path:
#   volumes:
#     - C:/uptime-kuma/data:/app/data
docker compose up -d
Watch for two Windows-specific issues:
docker-compose.yml in a Windows text editor that reintroduces CRLF — use a code editor set to LF, or WSL2’s filesystem directly.Bare-metal Node.js install across OS (no Docker at all): the data directory itself is portable, but you additionally need to match Node.js versions (Uptime Kuma v2 requires Node.js ≥ 20.4) and reinstall dependencies fresh on the target OS — don’t copy node_modules across platforms.
Docker → bare-metal:
# Extract your backed-up data directory to the path bare-metal expects
git clone https://github.com/louislam/uptime-kuma.git
cd uptime-kuma
npm run setup

# Replace the freshly-created empty ./data with your migrated one
rm -rf ./data
cp -r /path/to/migrated/data ./data

node server/server.js
# or, to run persistently:
pm2 start server/server.js --name uptime-kuma
Bare-metal → Docker:
pm2 stop uptime-kuma
tar -czvf kuma-migration.tar.gz ./data

mkdir -p /opt/uptime-kuma && cd /opt/uptime-kuma
tar -xzvf /path/to/kuma-migration.tar.gz
# docker-compose.yml: volumes: - ./data:/app/data
docker compose up -d
Same permission caveat as 2.4 applies here — Docker’s rootless image runs as a specific non-root UID, which may not match the UID that owned the files under your bare-metal install. Check and fix ownership after the first start if the container logs show permission errors.
Moving between VPS providers (e.g., DigitalOcean → Hetzner, or onto a managed platform) is 4.2 with one addition: don’t rely solely on the provider’s snapshot/image feature as your migration method. Snapshots are convenient but tie you to that provider’s format and aren’t a substitute for a portable tarball you control. Take the file-based backup regardless of what snapshot tooling is available, and use it as your actual migration payload — restore into the new instance the same way you would in Section 5.
If you’re moving to a managed Uptime Kuma host (e.g., a PaaS-style provider), check their docs for how they expose the data directory most support uploading a kuma.db directly, but confirm before assuming JSON export/import (deprecated in v2, see Section 1) is available.
One-way limitation worth flagging clearly: there is no officially supported direct migration path from the default SQLite backend to MySQL/MariaDB (added as an option in v2). Community tools like sqlite3tomysql exist but are explicitly not recommended by the maintainer they don’t create all necessary indexes and measurably hurt performance. If you want to move to a MariaDB-backed instance, the safest path is exporting your monitor definitions (via the kuma CLI from the third-party AutoKuma project, or manual recreation) into a fresh MariaDB-backed instance, accepting that you start monitoring history over rather than attempting a live database engine migration.
cd /opt/uptime-kuma
docker compose down

# Move the broken/old data aside rather than deleting outright
mv ./data ./data.broken-$(date +%Y%m%d)

mkdir -p ./data
tar -xzvf uptime-kuma-backup-20260810.tar.gz -C ./data --strip-components=1
# (adjust --strip-components depending on how the archive was created —
#  verify with `tar -tzf backup.tar.gz | head` first if unsure)

docker compose up -d
docker compose logs -f uptime-kuma
.backup snapshotdocker compose down
cp /path/to/kuma-2026-08-10.db ./data/kuma.db
# Remove any stale WAL/SHM files from the old instance so SQLite
# doesn't try to reconcile them against the restored db:
rm -f ./data/kuma.db-wal ./data/kuma.db-shm
docker compose up -d
docker volume create uptime-kuma-data-restored

docker run --rm \
  -v uptime-kuma-data-restored:/data \
  -v "$(pwd)":/backup \
  alpine sh -c "cd /data && tar xzf /backup/kuma-volume-backup-20260810.tar.gz"

# Point docker-compose.yml at the restored volume, then:
docker compose up -d
export RESTIC_REPOSITORY="s3:https://s3.amazonaws.com/your-bucket-name/uptime-kuma"
export RESTIC_PASSWORD="a-strong-encryption-passphrase"

restic snapshots                     # find the snapshot ID you want
restic restore latest --target /opt/uptime-kuma/restore-tmp

# The restored path will contain your original archive — extract it
tar -xzvf /opt/uptime-kuma/restore-tmp/kuma-backup-*.tar.gz -C /opt/uptime-kuma/data
docker compose logsdocker exec uptime-kuma ls -la /app/data)kuma.dbSymptoms: container fails to start, logs show SQLite errors (database disk image is malformed, file is not a database), or the app loads with an empty/broken monitor list.
# 1. Stop the container immediately — don't let it keep writing to a corrupt file
docker compose down

# 2. Check the damage
sqlite3 ./data/kuma.db "PRAGMA integrity_check;"

# 3. If integrity_check fails, do NOT attempt to keep using this file.
#    Restore your most recent verified backup (Section 5) instead of
#    trying to repair in place — SQLite repair tools can recover a
#    working file but with unpredictable data loss, and a clean
#    restore from backup is more predictable.
Common cause: an unclean shutdown (host power loss, docker kill, OOM-killed container) while the WAL hadn’t been checkpointed into the main db file. This is exactly why Section 1 treats kuma.db-wal/kuma.db-shm as part of the required backup set, not optional extras.
Symptoms: container stuck restarting, logs show migration progress that never completes, or it starts but data looks partially migrated.
docker compose down
# Restore the pre-upgrade backup you took per Section 4.1 — there is
# no supported way to resume an interrupted migration.
mv ./data ./data.migration-failed-$(date +%Y%m%d)
tar -xzvf pre-upgrade-backup-20260810.tar.gz -C ./data

# Retry the upgrade only once you've confirmed the container has
# enough uninterrupted time (don't start it right before a scheduled
# reboot, host maintenance window, etc.)
docker compose up -d
There’s no good recovery path here — this is the scenario every prior section exists to prevent. What’s actually salvageable:
docker diff / inspecting the container’s writable layer occasionally recovers some files, but this is unreliable and not something to depend on.INCIDENT: Uptime Kuma instance down / data loss
DETECTED: [timestamp]
DETECTED BY: [alerting method]
1. Confirm scope: container crash-loop / host down / data corruption / accidental deletion
2. Stop any process still writing to the affected data directory
3. Locate most recent verified backup:
- Local: /opt/backups/uptime-kuma/
- Off-site: restic snapshots (RESTIC_REPOSITORY=...)
4. Restore per Section 5, matching the backup type available
5. Run post-restore checklist (Section 5.5)
6. Document root cause and time-to-recovery below
7. If root cause was "no recent backup" or "backup untested" —
fix that gap before closing this incident
ROOT CAUSE:
TIME TO RECOVERY:
FOLLOW-UP ACTIONS:
The local cron backup in 2.3 plus the restic-to-S3 step in 2.5 gets you there with one script.
A reasonable default for a self-hosted monitoring instance:
| Tier | Retain | Rationale |
|---|---|---|
| Daily | 7 | Covers “I broke something this week” |
| Weekly | 4 | Covers a slower-to-notice config mistake |
| Monthly | 6 | Long-tail disaster recovery / compliance |
The restic forget command in 2.5 implements this directly.
A nice closed loop: add a Push monitor in Uptime Kuma configured with a long heartbeat interval (e.g., 25 hours for a daily backup), and have your cron script hit the push URL on successful completion:
# Add to the end of kuma-backup.sh, after the integrity check passes
curl -fsS "https://your-kuma-instance/api/push/YOUR_PUSH_TOKEN?status=up&msg=backup+ok" > /dev/null
If the backup script fails or doesn’t run, the push monitor goes stale past its interval and Kuma alerts you through your existing notification channels — you’re using the tool to watch its own safety net.
Don’t rely on memory during an actual incident. Keep a short RUNBOOK.md alongside your compose file with:
chmod 700) — it contains notification credentials and password hashes in plaintext SQLite formdocker compose down, not docker kill)restic forget)RUNBOOK.md written and stored alongside the compose fileThis guide covers Docker Compose and bare-metal Node.js deployments of Uptime Kuma. Command paths assume a typical Linux setup (/opt/uptime-kuma); adjust to match your actual deployment paths. Always test restore procedures in a non-production environment before you need them for real.
In the Next Section we will Comapre Uptime Kuma vs. UptimeRobot vs. Healthchecks.io

We have detected that you are using extensions to block ads. Please support us by disabling these ads blocker.