Table of Contents
Introduction
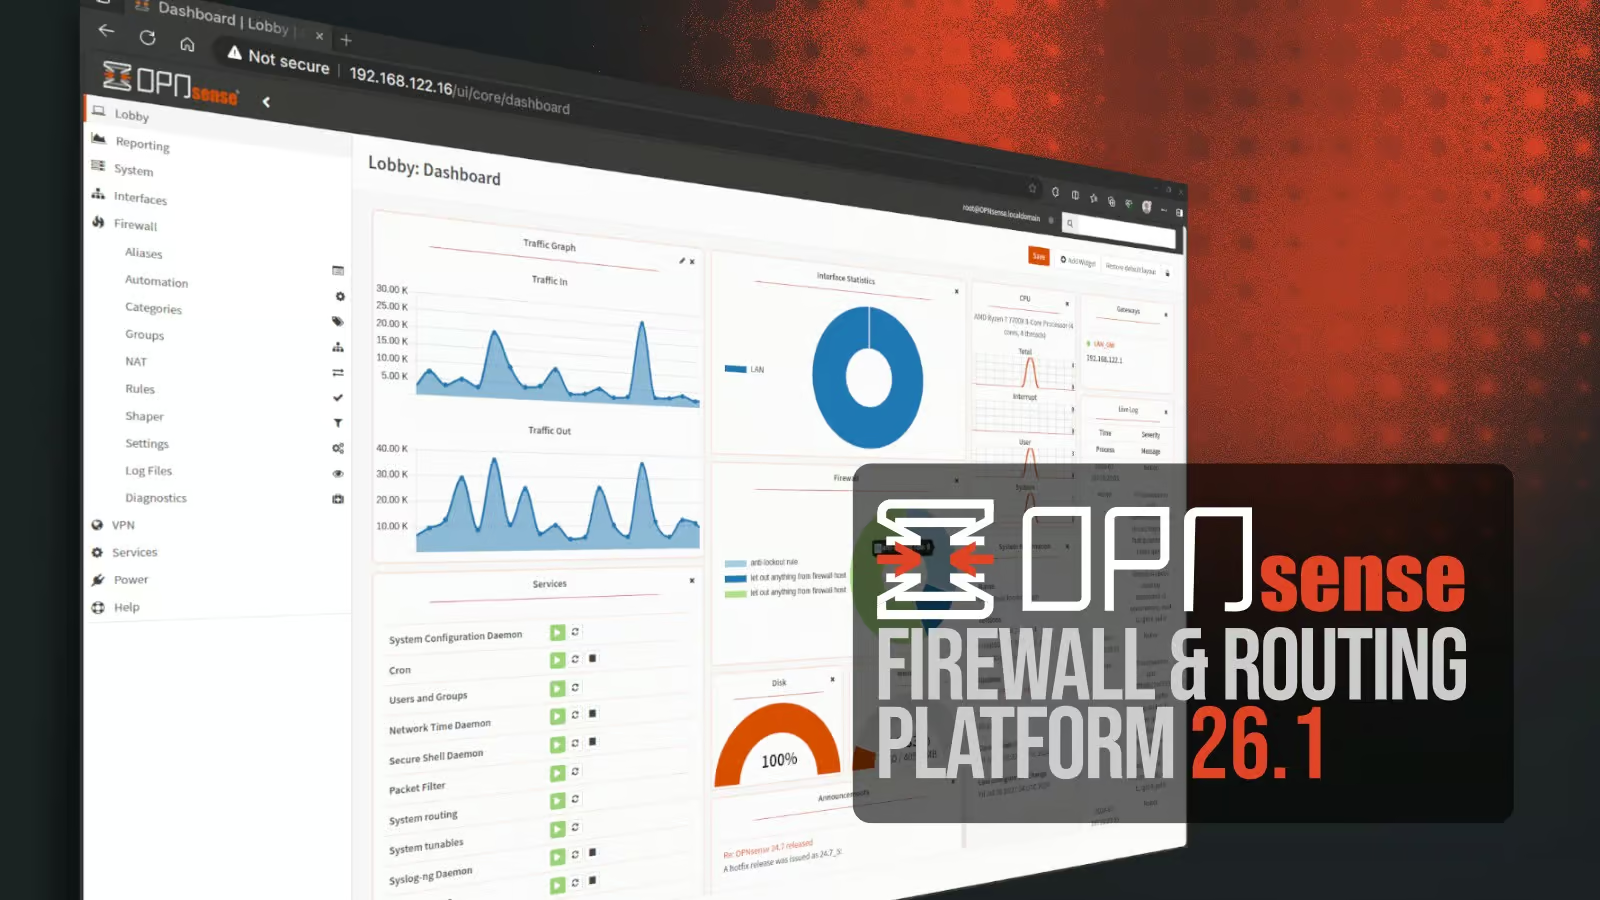
OPNsense is a powerful, open-source firewall and routing platform based on FreeBSD. It’s widely used in both home and enterprise environments because of its rich features, modern web interface, and strong security posture.
Installing OPNsense on Proxmox VE is a smart and efficient way to deploy a robust firewall and routing solution within a virtualized infrastructure. OPNsense, a FreeBSD-based open-source firewall and routing platform, is known for its reliability, modular features, and user-friendly web interface. Combining it with Proxmox VE, a powerful open-source virtualization platform, creates a flexible, scalable, and secure network environment suitable for home labs, small businesses, or enterprise networks.
Features of OPNsense
OPNsense offers a rich set of features that make it a powerful firewall and routing solution. Its firewall rules are highly customizable, allowing administrators to precisely control traffic between networks. For secure remote access, it provides robust VPN support, including IPsec, OpenVPN, and WireGuard protocols. Security is further enhanced with Intrusion Detection and Prevention (IDS/IPS), powered by Suricata, which actively detects and blocks threats in real time.
To optimize network performance, OPNsense includes traffic shaping and Quality of Service (QoS) capabilities, enabling prioritization of critical services like VoIP or video streaming. The system also supports High Availability (HA), offering failover between multiple firewalls to ensure continuous service and redundancy.
Additional features like a built-in web proxy and filtering system provide administrators with tools for content filtering and web access control. Managing all these features is simple, thanks to a modern, responsive web interface that can be accessed directly through a browser. Lastly, OPNsense receives frequent updates, including monthly security patches and feature enhancements, ensuring your firewall remains secure and up to date.
Step 1: Download OPNsense ISO
The first thing you need to install OPNsense on Proxmox is the OPNsense installer file, which comes in the form of an ISO image. This file is what you’ll use to “install” OPNsense in your virtual machine, just like inserting a DVD into a computer to install software.
Step 2: Upload ISO to Proxmox
Log into the Proxmox web UI.
Go to:
Datacenter > Your Node > local (storage) > ISO Images
Click Upload and select the OPNsense ISO file.
Step 3: Creating a New VM for OPNsense on Proxmox
Click “Create VM” in Proxmox
Start by logging into your Proxmox web interface. On the top right, click the “Create VM” button to launch the virtual machine wizard.
Basic Configuration
Enter a descriptive name, such as OPNsense. This will help you easily identify your firewall VM in the list.
ISO Image Selection
Select the OPNsense ISO file you previously uploaded to Proxmox. This ISO will be used as the installer for the firewall. It is recommended if you install the agent inside OPNsense (useful for better VM management from Proxmox).
Operating System:
Select a version like 5.x – 2.6 Kernel (this setting works well for FreeBSD-based systems like OPNsense).
BIOS:
Use SeaBIOS (default and most compatible), or OVMF if you plan to use UEFI boot.
Machine Type:
You can keep the default i440fx or q35. Either will work, but q35 is often preferred for newer virtual devices and better passthrough compatibility.
Enable QEMU Agent
Recommended if you install the agent inside OPNsense (useful for better VM management from Proxmox).
Hard Disk Configuration
Use VirtIO (faster) or SATA (safer compatibility). Allocate at least 10 GB. You can increase this based on your logging and traffic monitoring needs.
CPU and RAM
Assign 2 cores or more for smooth performance. Minimum 1 GB, but 2 GB or more is strongly recommended, especially if you plan to use IDS/IPS or plugins.
Network Configuration
Add at least two network interfaces (NICs). One will use to connects to the internet, and other one will use to connects to your internal network or virtual machines.
Step 4: Start the VM & Install OPNsense
- Start the VM and open its console.
- Boot from the ISO and follow the installation prompts:
- Choose UFS (simpler) or ZFS (advanced).
- Set a root password.
- Assign WAN/LAN interfaces.
- Complete the install and reboot into the installed system.
Step 5: Access OPNsense Web UI
- After reboot, login to the console as:
Username: root
Password: [your-set-password]
The system will show LAN and WAN IPs.
From another computer, open a browser and navigate to:
https://<LAN-IP>
Default credentials for the web UI:
Username: root
Password: [the one you created]
Conclusion
Installing OPNsense on Proxmox VE gives you a full-featured, open-source firewall in a virtualized environment. It’s ideal for home labs, small businesses, or even enterprise-level deployments when scaled.


