Nakivo: configure a Federated Repository

The Federated Repository is a new cool feature available in Nakivo Backup & Replication 11 that allow to flexibly add storage space while using existing backup configurations.
When the Backup Repository runs out of space and Backup Jobs need to be reconfigured to avoid errors, the Federated Repository allows you to keep Backup Jobs unchanged by simply adding additional storage devices.
Configure a Federated Repository
A Federated Repository is a logical pool of backup repositories composed by one or more repositories (called members) that can be scaled horizontally to met the space requirements to store the backup data. A Federated Repository can also be referred to as a scale-out repository.
A maximum of 128 members can be configured for a single Federated Repository and are supported the following storage types:
- Local folder on a machine with the assigned Transporter component of the NAKIVO solution
- NFS share
- SMB share
To take benefit of this feature you need the Enterprise Plus and MSP Enterprise Plus license and no additional licenses are consumed in addition to those consumed by data protection activities.
Add new Backup Repositories
First step is the addition of new repositories to federate (at least two) in Nakivo.
From the Nakivo’s dashboard, navigate to Settings > Repositories.
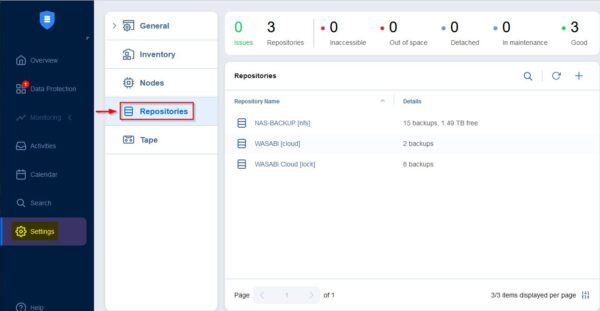
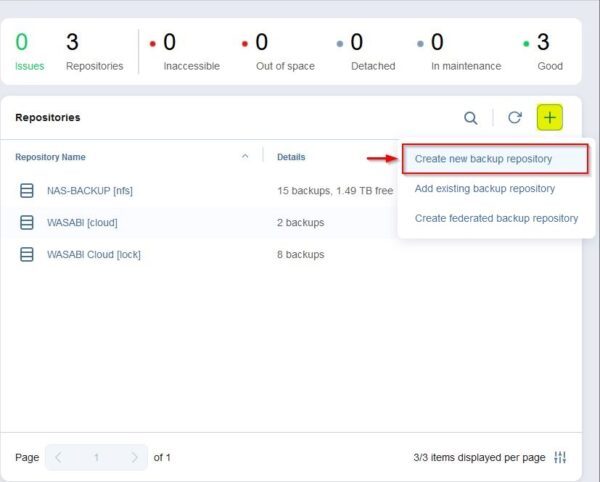
Click the + (plus) icon and select Create new backup repository.
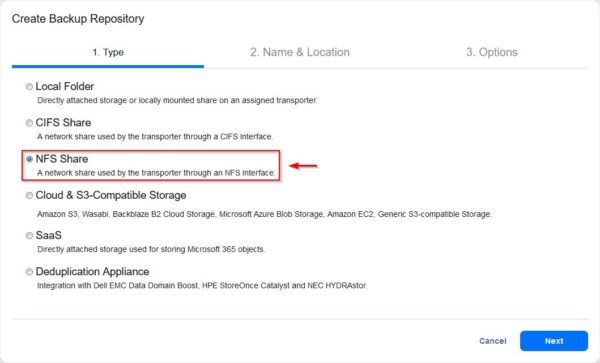
In the example two new NFS storage devices will be added in Nakivo. Select NFS share as repository type and click Next.
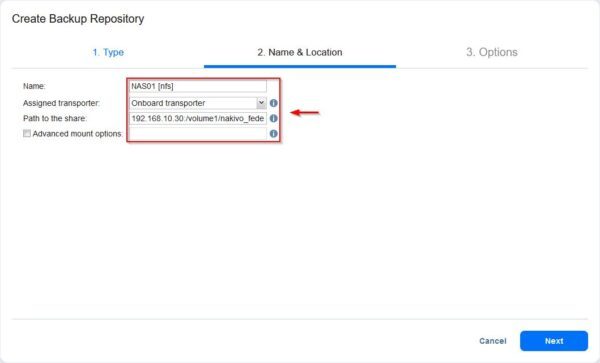
Enter the Name, specify the Assigned transporter and the Path to the share. Click Next when done.
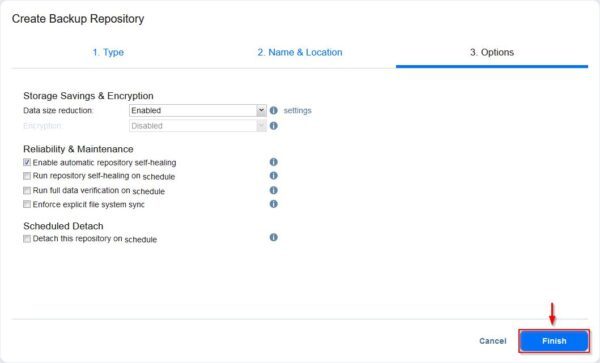
Click Finish.
The repository is being added to Nakivo.
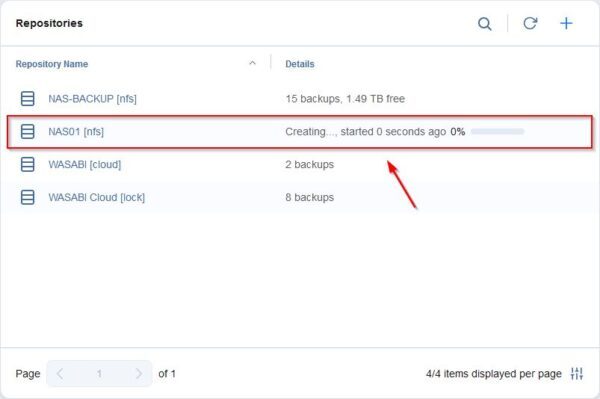
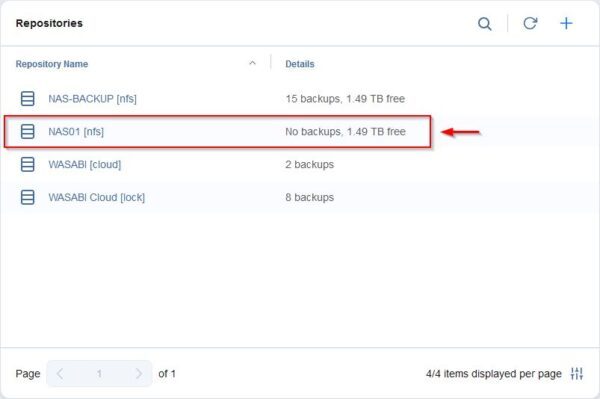
The added repository.
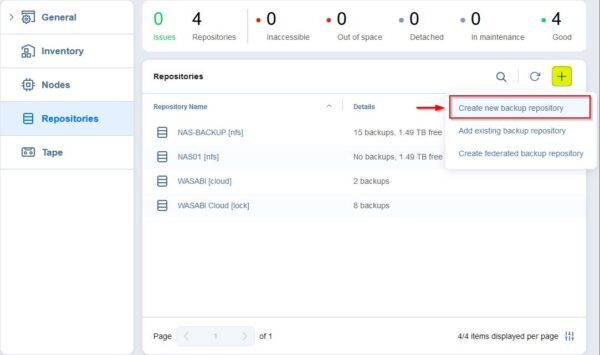
Now add a second repository by following the same procedure. Click the + (plus) icon and select Create new backup repository.
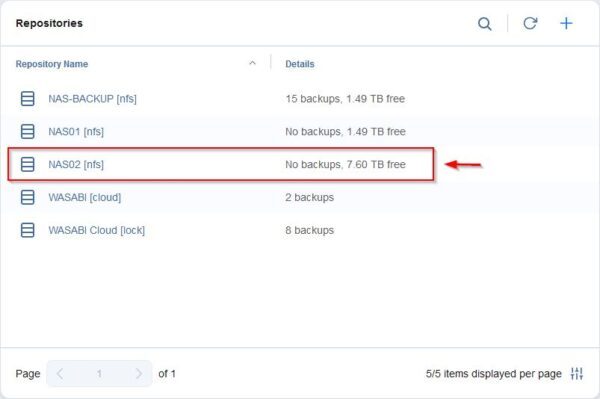
The second repository just added.
Create a Federated Repository
From the Repositories section, click the + (plus) icon and select Create federated backup repository.
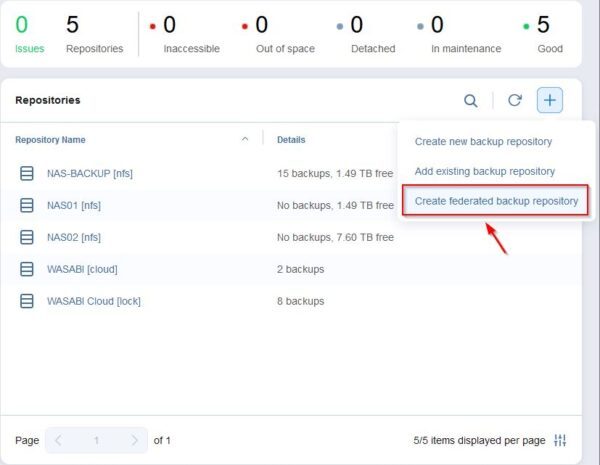
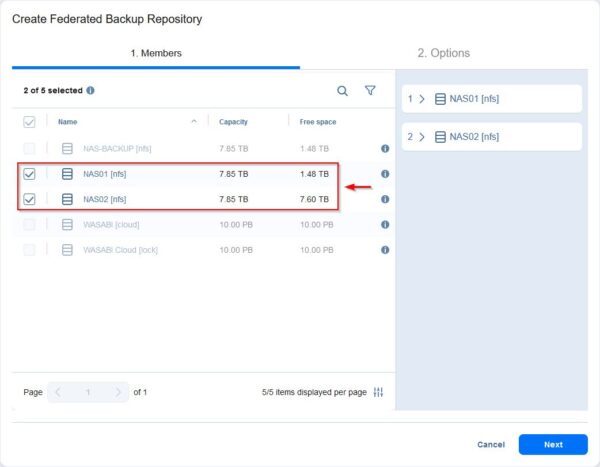
Select the repositories you want to use as members of the new Federated Repository then click Next.
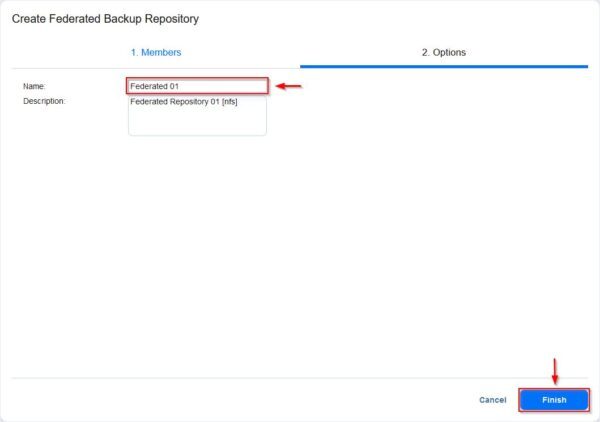
Enter the Name for the new repository then click Finish.
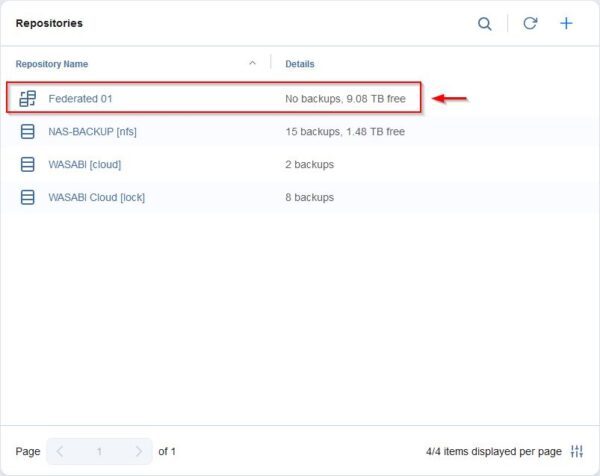
The created Federated Repository.
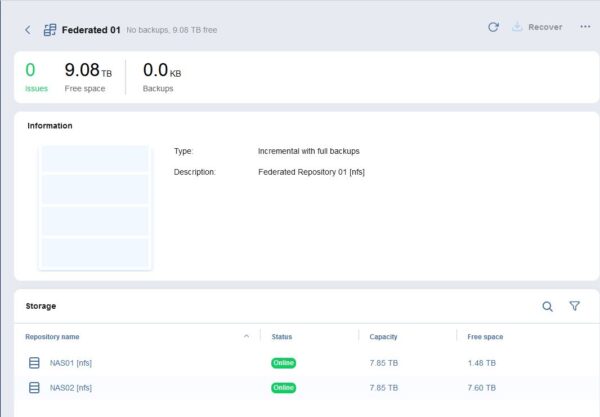
Click on the new repository to display the details.
Create a Backup Job
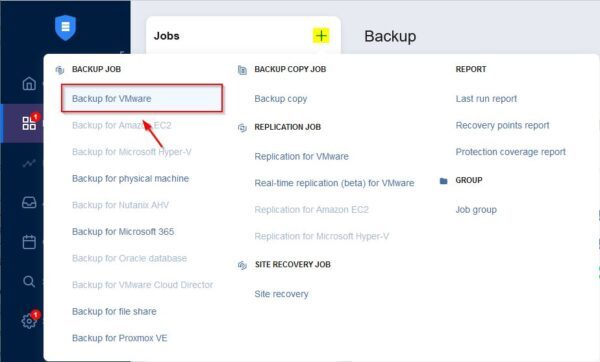
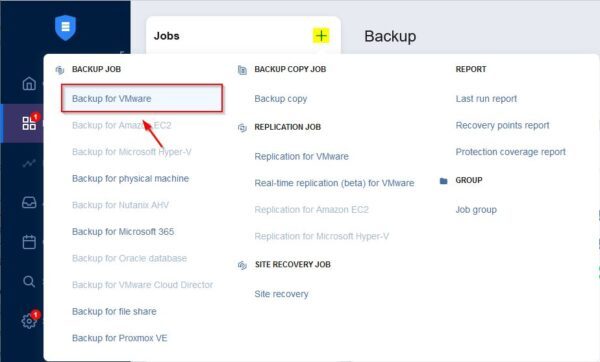
From the Nakivo’s dashboard, click the + (plus) icon and select Backup for VMware
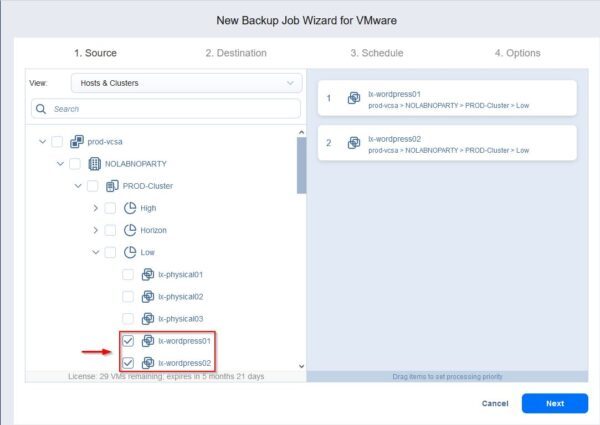
Select the VMs to backup and click Next.
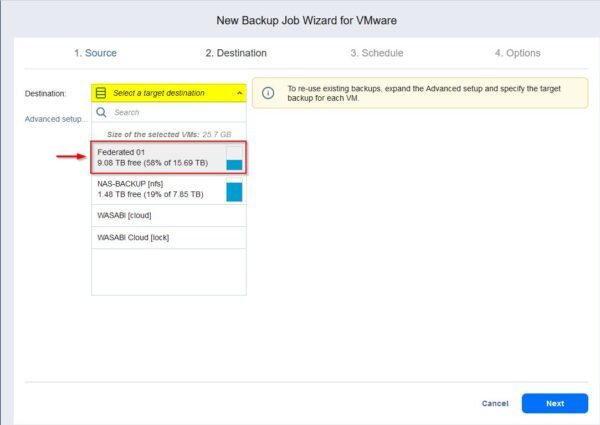
Select the just created Federated Repository as Destination then click Next.
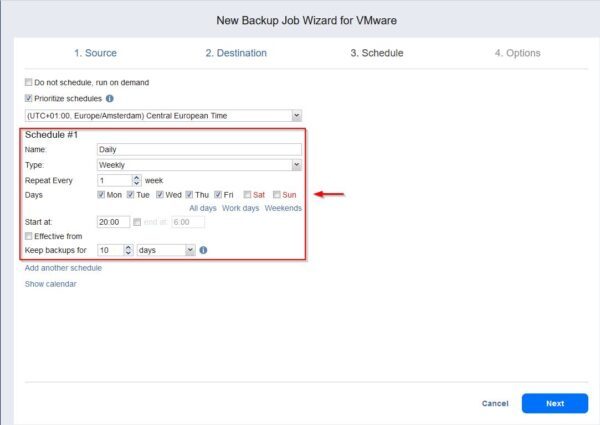
Specify the desired Schedule then click Next.
Enter the Job name and click Finish.
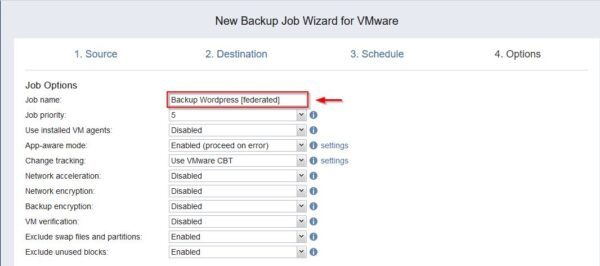
Test the Backup Job
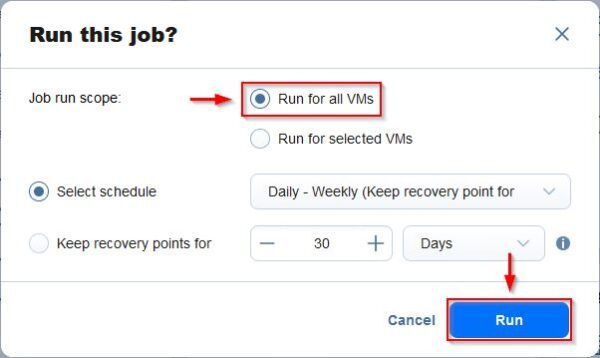
Right click the create Backup Job and select Run.
Select Run for all VMs and click Run.
The Backup Job is being executed.
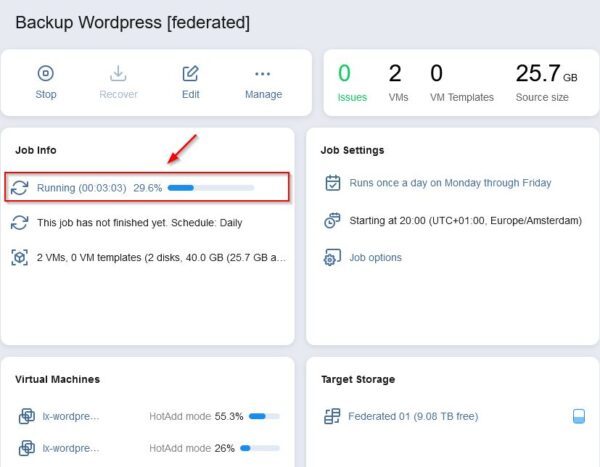
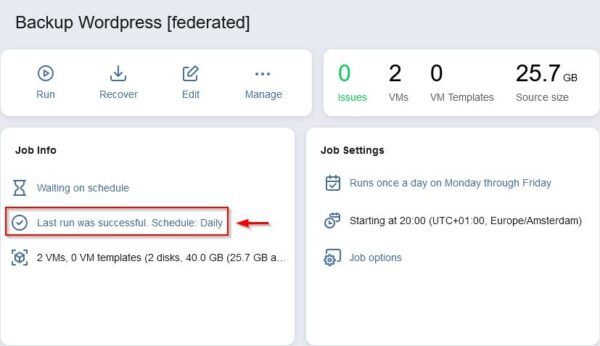
After some minutes the Backup Job is completed successfully storing the backup to the Federated Backup Repository.
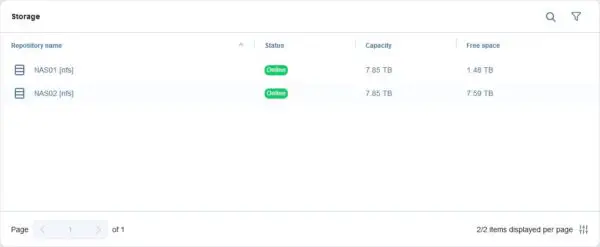
Access the Repositories section from Settings > Repositories and click on the Federated Repository to see the details.
Nakivo Backup & Replication can be downloaded as 15-day trial.
